Page 9

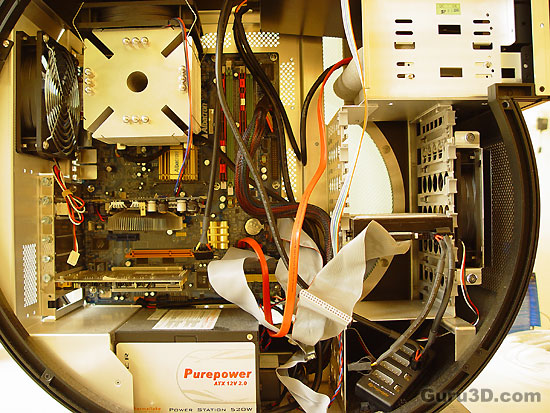
The before shot. A Pentium 4 Extreme Edition 3.2 GHz powered media-center PC and yes that graphics card has a Zalman cooler (I told you they were popular!). Let's begin prepping the mainboard. Unfortunately it needs to come out as we need to install a back plate.

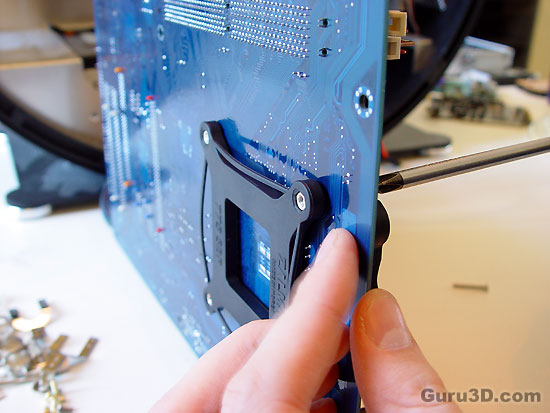
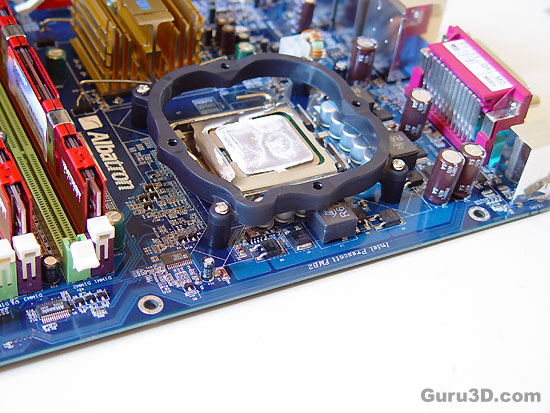
First of all, at the back side of the mainboard and at the frontside, we install a retention clip for Socket LGA775 which we secure with four screws.

By the way, please remove the old residual thermal paste from the CPU as you want a flat surface.

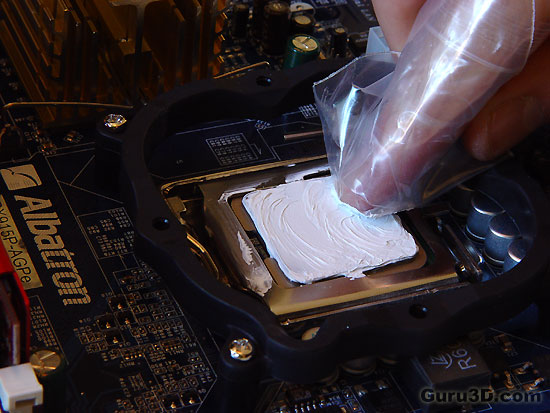
Now apply some new (delivered with the kit) thermal paste using my good old finger condom trick. As I always state: 'always lube it if you want it to go smooth.' Mhhyes .. next picture shall we ?
