Page 4
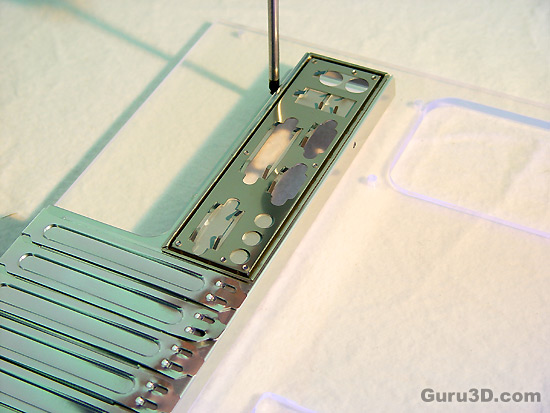
Right we start with the back-panel. Normally in a case review we would be continuing from here with pics of the case but as we have to build it ourselves lets move onto assembly, shall we?
We now take the side section and attach the back plate with the included screws (this is indicated in instructions).
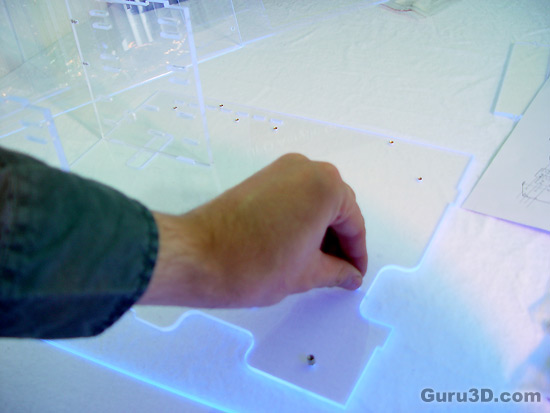
Here we prep the motherboard stand offs to the tray section, they screw in tight and sure, nice. Ehm, no it's not a radio active glow.
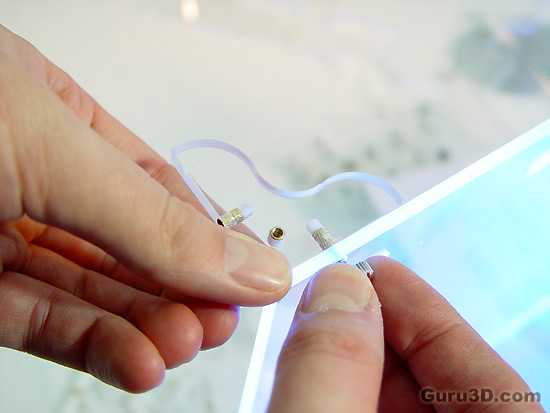
The bottom. Here you attach the four corner pieces as well as the extra support bracket for the PSU.
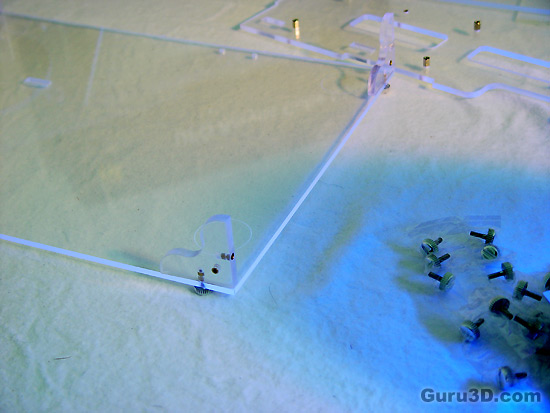
Like so. Wanna see a really cool photo ..?
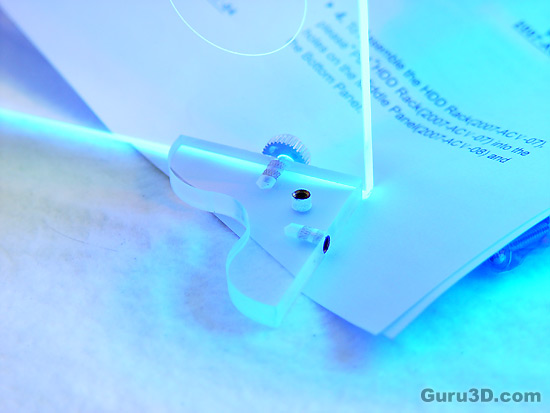
Aah, the UV reflective black light. So lovely !
