Assembly and installation of the Acrylic HTPC (2)

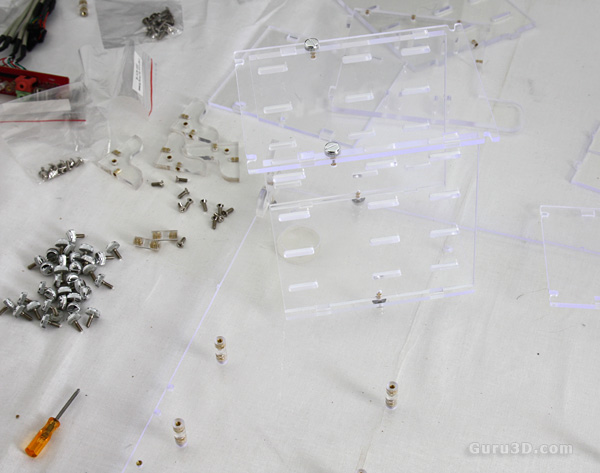
The next step you want to do is to mount the two drive bays together, one at a time.

All tools and kit is inserted, even screwdrivers and thumb screws.

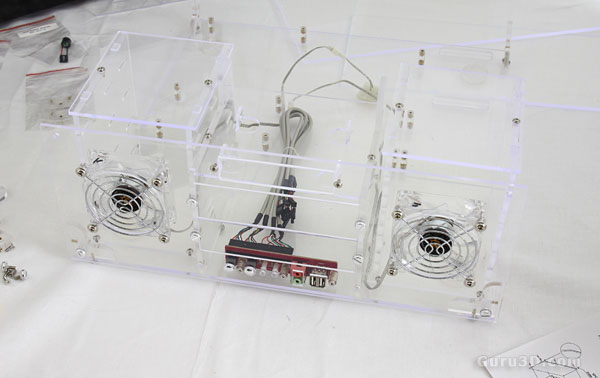
Once we assembled the bottom plate, and two drive bays we secure two fans at the front panel, and secure the front panel bracket. Everything is really easy to do. I like to hint to Sunbeamtech though that RED is not exactly my favorite color for the PCB. Though, when in dark or twilight surroundings, it'll look black. But in short, that should have been black.
The chassis comes with four 80-mm fans that glow UV blue when they are turned power up. Two fans need to be installed on the front panel, cooling down the hard disk drives. Another fan needs to be installed on the middle of the case and can be moved around, so you can decide where is the best position for this fan. The last one is located in the rear panel.
| Color | Transparent (HTPC-T) UV-Blue (HTPC-HUVB) |
| Drive Bay | 5.25" Drives Bay x 2 3.5" Drives Bay x 1( External ) 3.5" Drives Bay x 8( Internal ) |
| Front I/O Port | USB 2.0 x 2 + Speaker + Microphone |
| Weight | G .W: 5.6 kg N .W: 4.8 kg |
| Dimension | 47.5(L)*44(W)*19.5(H) CM |
| M/B Type | Standard ATX |
You are focusing with your eyes right now eh ? Heh .. transparency man, sorry. Have a quick overview at the PC components specifications by the way.
