Page 4
The setupRemember that internet router in our setup ? My bet is that 90% if you guys have one also. If your LAN already has a DHCP server (router) the 1100 will automatically be assigned an IP address during it's boot-up, in our case 192.168.168.106. (The 1100 will simply utilize an IP address from any DHCP server). Once in windows XP's 'My Network Places' just have a look in your Workgroups or network neighbourhood. The SnapServer already will be active, as with it's default settings, it allows network shares (folders) be visible to all the network file systems it supports. If it's there, you'll be able to access it through the web interface. Open up a browser and type in http://SNAP190637 or whatever name is showing up, as the 1100 can be administered completely from any client with a web browser.
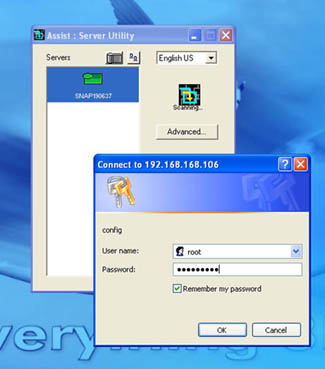
Now then, if you live in more primitive conditions e.g. you don't have a router / dhcp configured insert the supplied Setup CD. A tool called Assist utility will install and startup. This tool will scan your entire LAN network for a SnapServer product. It likely will take just a few seconds.

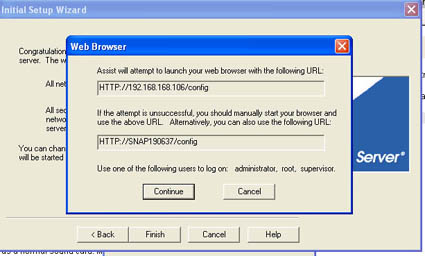
When a SnapServer is found then just hit advanced or webbrowser and you are can start the easy setup which again is web based.
Once that screen is loaded up hit administration. Type in ROOT and the password that is supplied in the documentation. Congratulations you are now in the web based control panel. This entire process should not take you more than a minute or two.
At this point you already have your external HD working. If that's all you need from this product then go towards 'My Network Places' choose view workgroup computers and right-click on the Snap Server icon. Choose map a drive and assign a driver letter towards the product. Once you did this you are set and done.
If this is all you need/want/desire then you can now go to the last page of this review ! If not, hit the next page.

