Page 2
Technology Behind a PLED
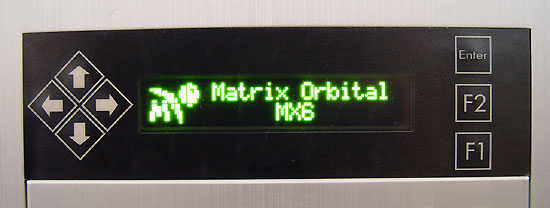
PLED displays are made by applying a thin film of light-emitting polymer onto a glass or plastic substrate coated with a transparent electrode. A metal electrode is sputtered or evaporated on top of the polymer. Application of an electric field between these two electrodes results in emission of light from the polymer. When a current is applied, electrons from the cathode migrate through the cell and meet positive "holes" migrating from the anode. When they meet, they form so-called excitons and as the electrons drop into the holes, energy is released as light. And that light is what you see in the photo below.

The Package![]()
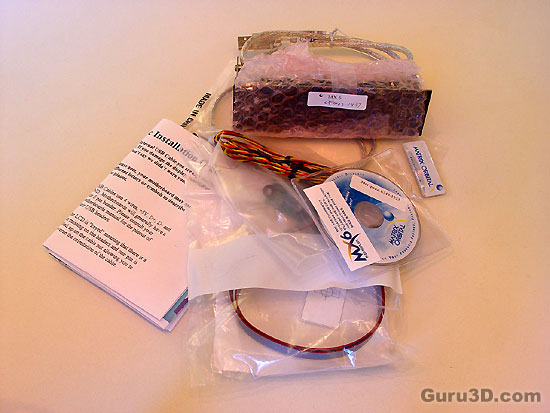
Matrix Orbital is still one of these companies that makes everything by hand themselves. That show's a little in the packaging. It feels a bit cheap with bubble wrap plastic and copied manuals/guides. Once you actually have the MX610 in your hands, things start to look a bit different. The sheer weight and detail immediately show high quality, which it should be as this stuff certainly isn't cheap.
In the box we can find the MX610, temperature sensors, internal USB cable and very funny, LED indicators. The last three items are not included default with the package though, you need to order them separately. Next to that a CD with important LCDC software and some manuals. Installation itself is quite easy. The device is mounted into an empty 5.25" drive bay.
It connects to USB via an external connector that must be run to the outside of your case, or using an internal USB header (consult your motherboard manual to verify your board supports internal USB headers). So,you connect an USB cable to your external USB port, or make use of an internal USB cable that can be hooked up to your mainboard's internal USB ports directly. Next to that, optionally you can hook up thermal sensors and your active fans, which this device can control based on a set RPM or temperature.

