Product Showcase
Product Gallery
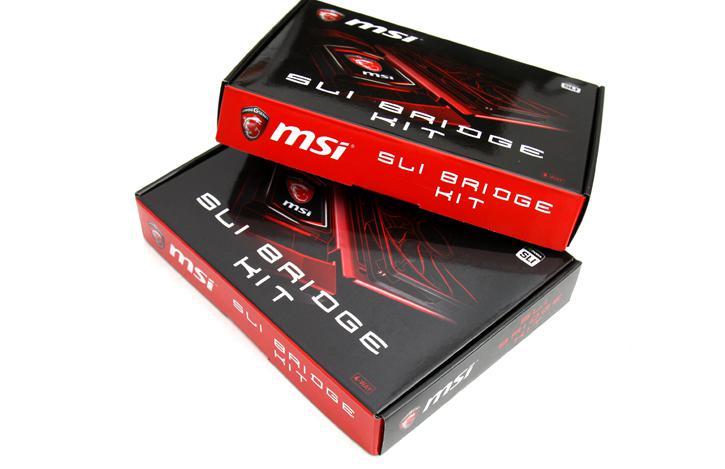
MSI delivered a 3 and 4-way bridge kit. BTW even if you'd only plan to use two cards in SLI, a 3-way kit will not only work, you'll have a spare SLI connector for the future should you ever desire to go 3-way SLI.
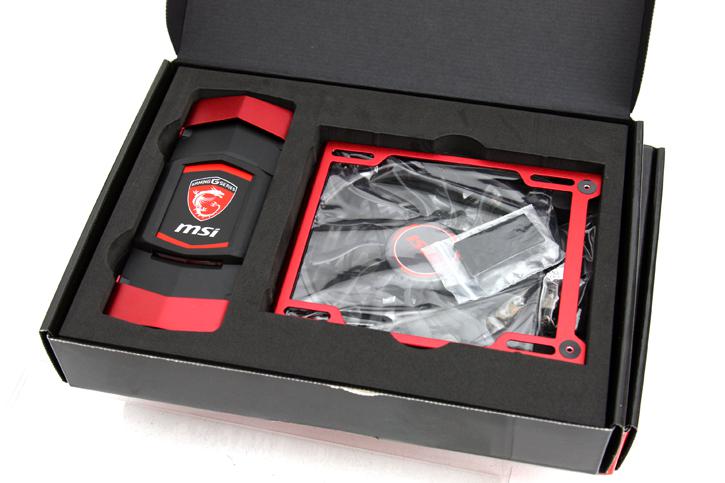
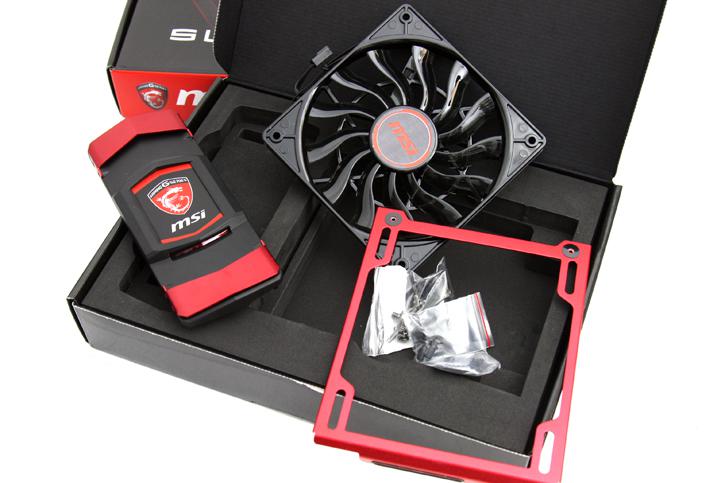
The package comes bundles with the bridge, bracket fan and screws. You will need to perform some DIY stuff, easily done though and ten minutes work tops. I'll walk you through that on the next page.
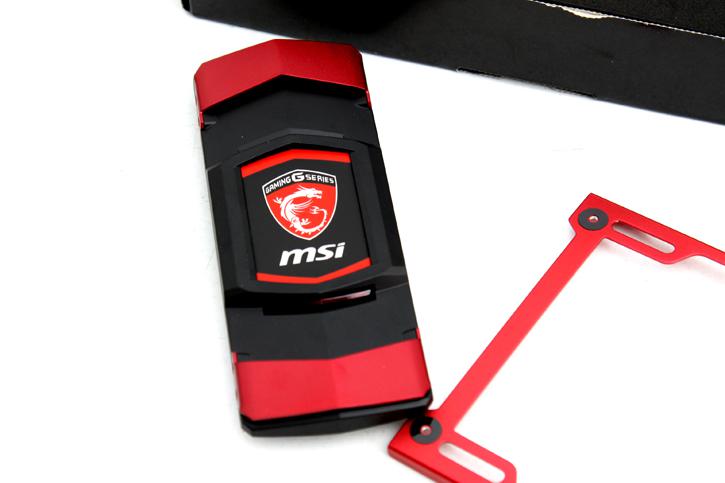
Here we see all bundles gear a bit better. Should you really hate the fan and bracket ... it's optional to install of course, you could always opt to only use that SLI bridge.
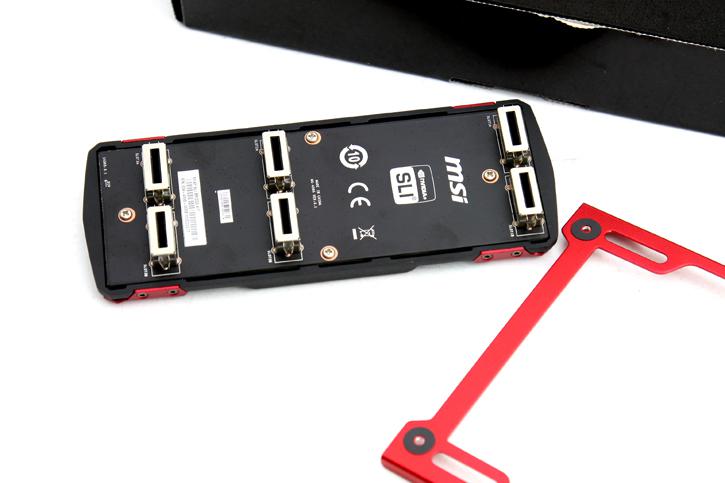
Here you can see the 3-way bridge connector, again if you plan to go 2-way SLI this will still work, just make sure you have on card at the top and one at the bottom.
Here's the top side of the SLI bridge, the familiar gaming design and dragon logo is present. That logo is LED activated but can be turned off once you have installed your drivers and the latest revision of the MSI gaming app. Basically the light can be configured as on/off and when on some animation is possible as well (fading in out etc). You could just use this bridge and leave out the fan etc, totally your call to make.
