Product Gallery
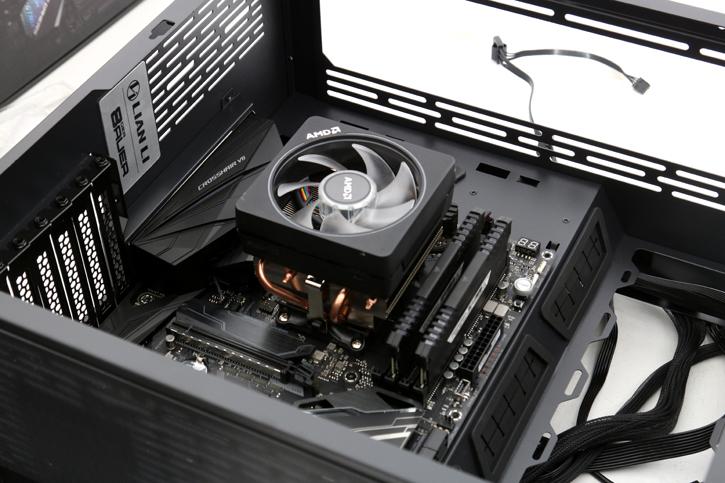
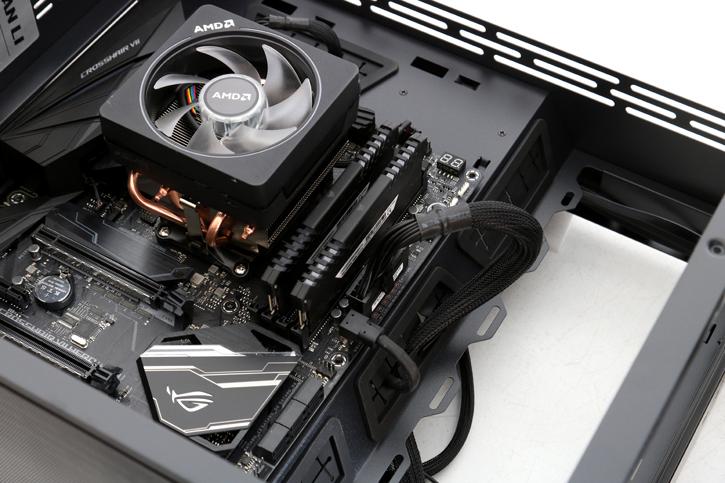
It is time to start building the PC. In the next few pages, we'll show you what we are installing and how that works as an experience. We'll mount an ASUS C7H motherboard with Ryzen 2700X.
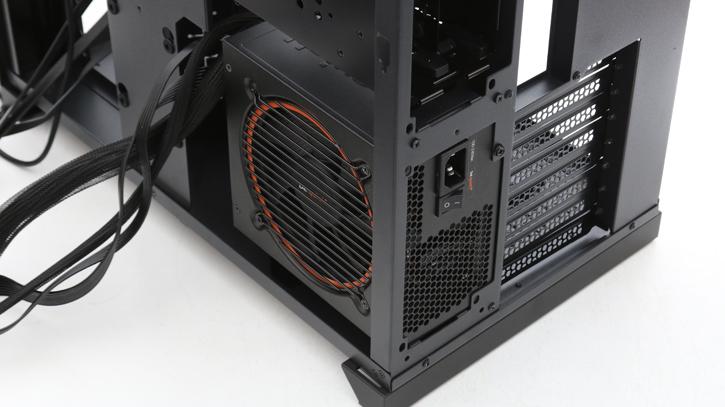
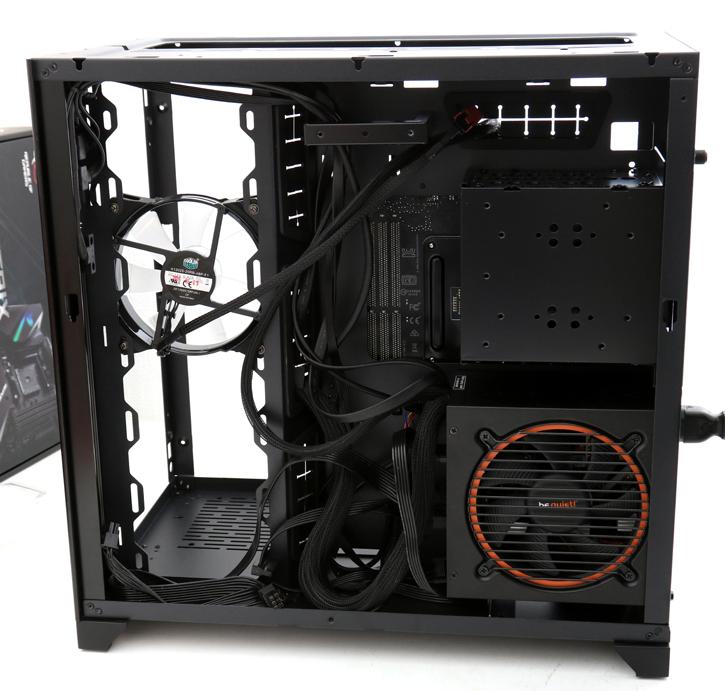
The biggest job will be removing the top compartment of the chassis, at the sides and top you will need to remove a screw So again let me show you what I meant with PSU and more importantly, connector and cabling spacing. It's cramped as where you see the cables, we need to mount back the tray holding an SSD/HDD. It's do-able though, just not very handy.
On the visual side of things, there simply is lots of space available. The motherboard easily fits, and if you look to the right of it, the 'diagonal' rubberized grommet holes are just very handy for cable routing.
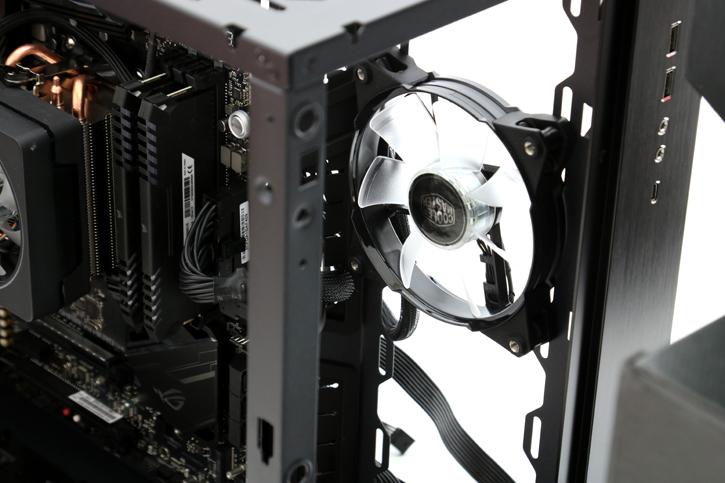
However, if you mount a 360mm (or any size) radiator there, you will need to be careful that say the ATX MOBO power cabling would not run into the ventilator(s) you place there. Small stuff, but there isn't heaps of tolerance for spacing.
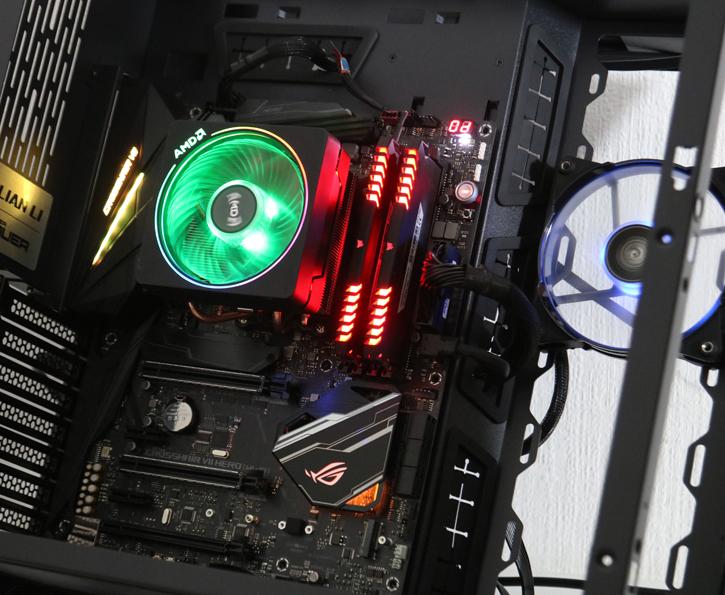
We're not mounting a rad / LCS today. I did, however, mount a fan just for the aesthetic value really.
A quick test, yep .. she's still posting. Right, it's time to finish this build to see what it looks like with the tempered glass.
