Page 4
9. What's the best part of your rig?
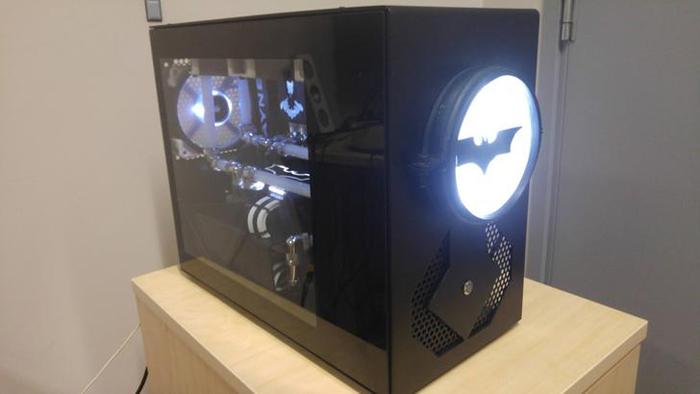
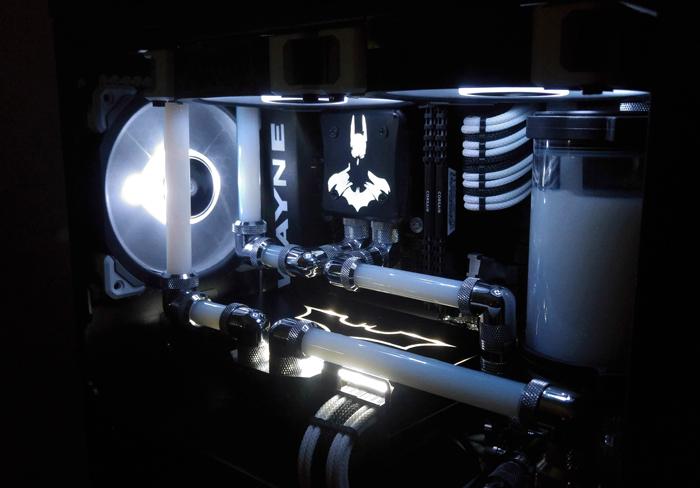
The dark knight CPU block has always been the centerpiece of this build in my opinion. I think the whole build has a very clean and industrial feeling to it, not to mention a bit geeky and that was exactly the theme I wanted to create.
10. Any dislikes, things you should not have bought?
I have no regrets, well maybe I'd use a cheaper power supply next time!
11. Did you modify anything? cases/video cards/other? Did you do it yourself? Walk us through it.
I think it's easier to count the components I didn't mod haha :D Anyway let's start with the case. I stripped it of all the side panels, dust filters, and the front IO. I drilled out all the rivets and placed every one of them with m4 bolts, just so I could get easy access to all the parts for modding. Then I started making new panels for the case from scratch. I knew I wanted full glass side panels for both sides of the case so it was only a matter of mounting the glass to the case. I used magnetic tape on the glass panels to make it stick to the case. As the glass is heavy and the magnets can't hold the weight, I added a support piece to the bottom of the case that remains unseen when the panels are attached. That support is nothing else than a big piece a of acrylic that replaces the stock fan filter on the bottom, I made cutouts for the PSU fan and the case feet. The acrylic panel protrudes 3mm from the sides of the case, effectively holding the weight of the glass. (I used 3mm glass + the magnetic tape is 1mm thick). Next, the big top/front panel is also made of acrylic.
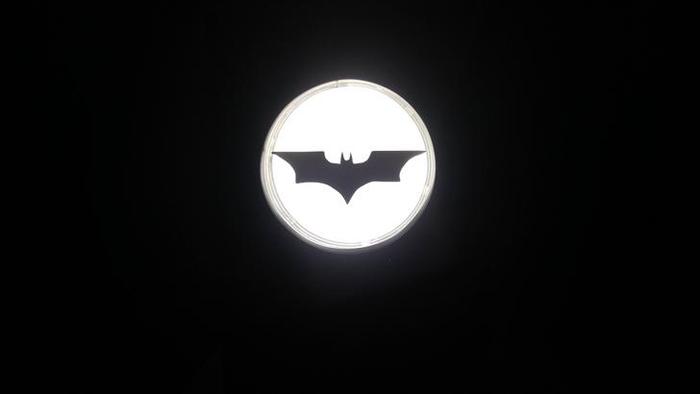
After cutting out all the bat-themed figures I used my DIY plexy bender to bend the panel. It's attached to the case with 4 screws at the top and at the bottom, it uses magnetic tape to stick to the Acrylic support piece (which also holds the glass). The mesh I used for ventilation was pretty much scrap metal I found in my grandparent's garage. It was rusty, so it needed some proper sanding and painting to be acceptable for my needs. Probably the hardest part of this whole build was the front bat-signal. I used a piece of ventilation pipe to make the body of the lamp. The inside lenses are made of acrylic and the Batman logo is also made of acrylic. I wanted the backlight to be very even cold white light to match the rest of the build. So I made my own edge-lit acrylic piece (which can be seen on some of the pictures).
It doesn't look particularly pretty, but when the side panels are on, it won't be visible anyway. I also made a custom led-lit backplate for the graphics card, SSD and the CPU block, a custom PSU shroud, plus loads of panels to hide the unnecessary cracks and slots on the chassis. The block I'm using on the CPU, is actually an old Universal GPU block made by alphacool. I made a custom mounting plate for the 115x socket and swapped out the top plate for my own led version. The glass tubing was cut with a Dremel using a diamond disc. The custom sleeved cables are also handmade by me and those were the first set i ever made, so they definitely aren't perfect, but you got to start somewhere right? Since then my sleeving skill has improved and I can't wait to make even better-looking cables!
12. Your 3DMark scores
Time Spy 4102
13. Do you have any future updates planned?
I think I'm finally done with this build, the building process took about 6 months in total, mainly due to school and work taking up all my time. I'll definitely try to take on some new projects as case modding and water cooling is very addicting!
14. Does your rig or mod have a name?
Project Crystal Nano, because of the glass tubing and side panels I used.
- Click here to check out other Guru3D.com Rig of the Month winners.
- Click here JOIN and Submit your rig! Try and win that Corsair product yourself
Would you like to have your PC published? Check out this landing page and read what is required and how to submit your entry.


