Procedures and kit needed
Creation and installation of a solar array
With the go-ahead signal and everything approved we needed to start planning. Now since we can't plant PV panels on the datacenter or office, the only logical location to be able to place a solar array, was the house where I live.
The house roof needs to (and does) point to the South to catch enough sun during the day. Making it a perfect location and ideal situation. And see, it doesn't matter where you install the solar array, as long as you install it, get it working and save CO2.
Though initially I wanted 20 PV panels, unfortunately on the roof there is only space for 15 PV solar panels. With a set budget in mind, I opted for Sharp 170 Watt/peak PV panels totaling up-to 2550 Watt/peak. This means under optimal circumstances the solar array can push back 2550 Watt on the grid. On a nice sunny day that's roughly 2100~2400 Watts on average.
Once the order was placed and all installation pre-procedures completed (electrical system preparation) it was time to get the project started. December 2008 last year we had the Solar panels installed, and from there on this blue colored website has gotten slowly greener.
Here's a summation of what is needed installation wise:
- Sun rays are casted to the PV panels - in this case we create an array of 15 panels.
- The 15 panels have two strings (clusters of PV-panels). One string of 12 and one of 3 panels.
- The energy created is sent to two power inverters for each string.
- The inverters push power down the a fusebox and then a KWh production meter
- Once the power is accounted for on the production meter, it's pushed into the power grid.
A aluminum mounting system is placed on the roof, the PV solar panels are then installed on top of them. All panels are connected in series with cabling. That cabling will go into the house and lead to an inverter, transforming solar energy into actual current. That current is then pushed back onto the power grid. With the help of Watt-meters and Watt production meters we can monitor this working solar array.
But let's have a look at the installation and technology used:

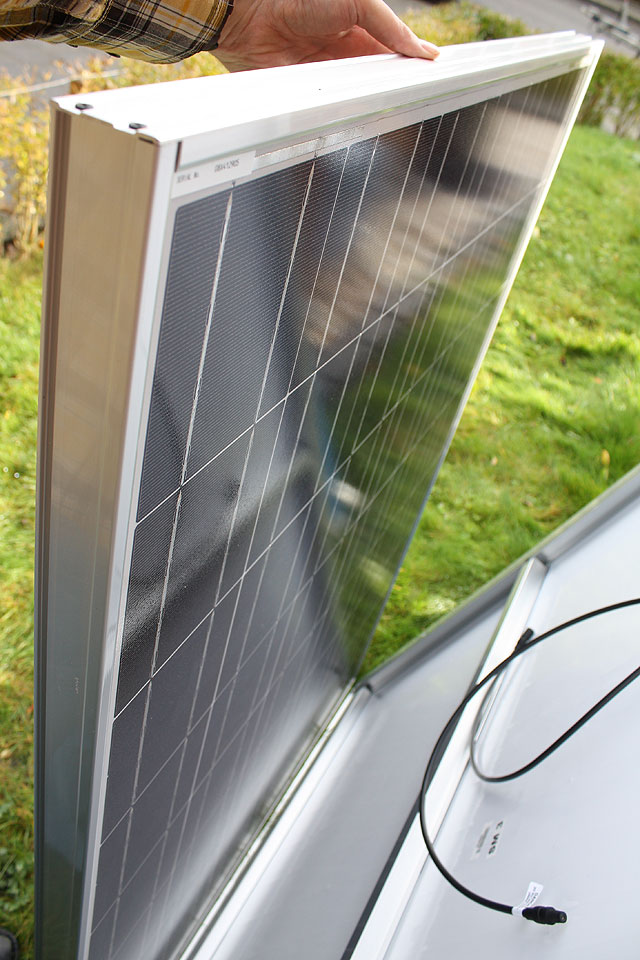
Here we have one PV-panel. Large puppies as they are big in size and weight roughly 25KG each. It is a high-power module (170W) using 125mm square poly-crystalline silicon solar cells with 13.10% module conversion efficiency. Each panel is 62x35.5x1.8 in inches and roughly 160x90x4.5 in centimeters.
We'll have 15 of such panels installed.

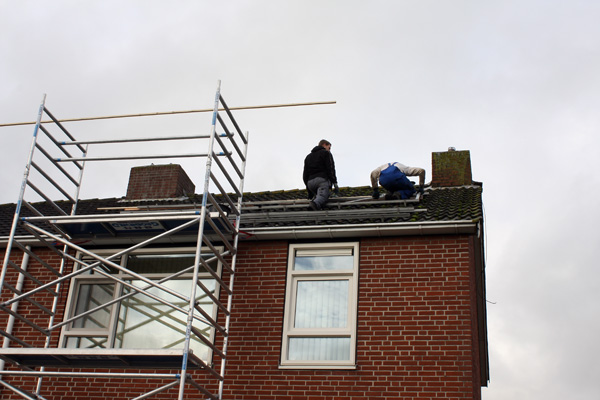
Here we see the installation at day 1, at the roof an aluminum mounting system is installed by a specialized company.

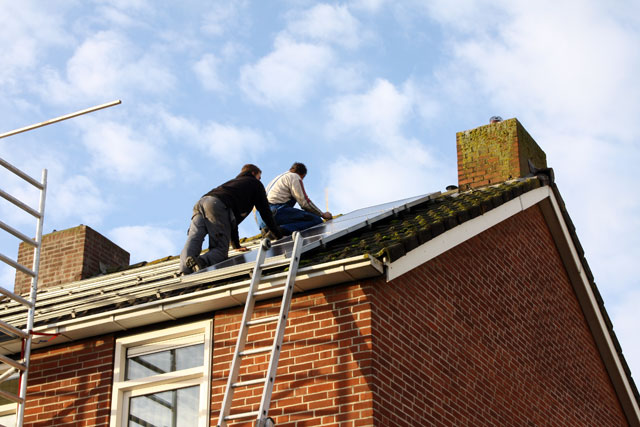
After the aluminum mounting system is secured, one by one the PV panels will be mounted. The panels are connected in series. We create two clusters (strings), one of 12 Panels and one of three panels.

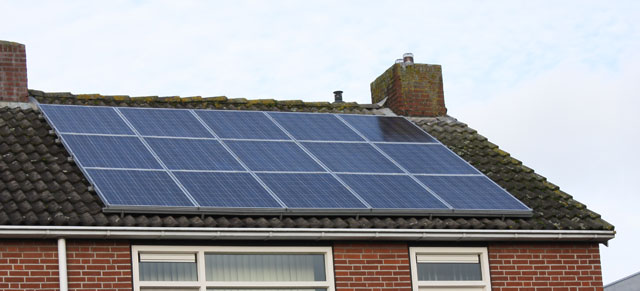
Here we can see the panels installed onto the mounting system. The wiring of two strings are led into the house through the roof to the attic. The PV panels are now working. But let's have a look what happens inside the house, the electrical system that is needed to transform current.
