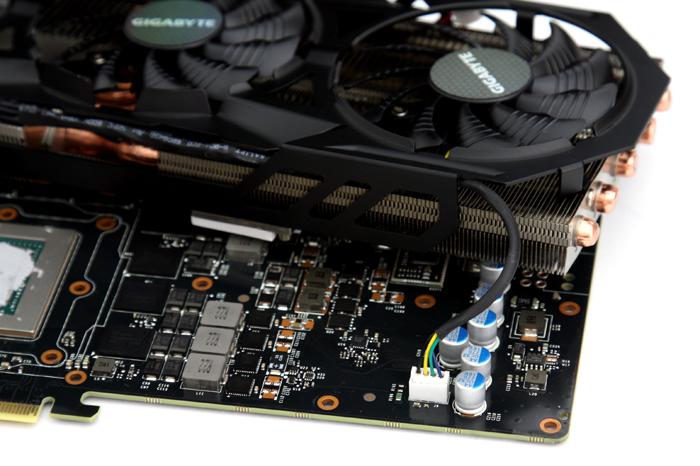
Product Showcase WindForce Cooler Assembly
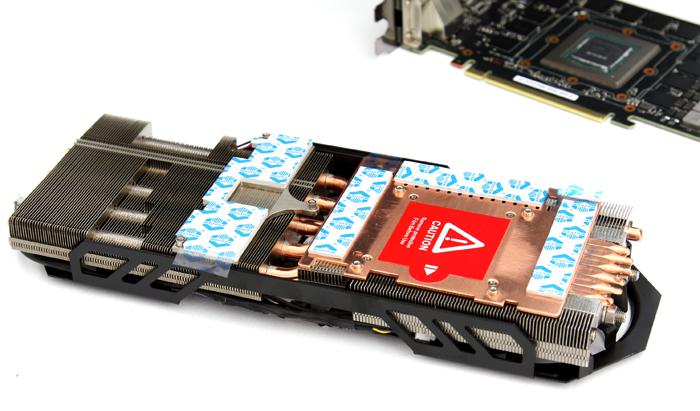
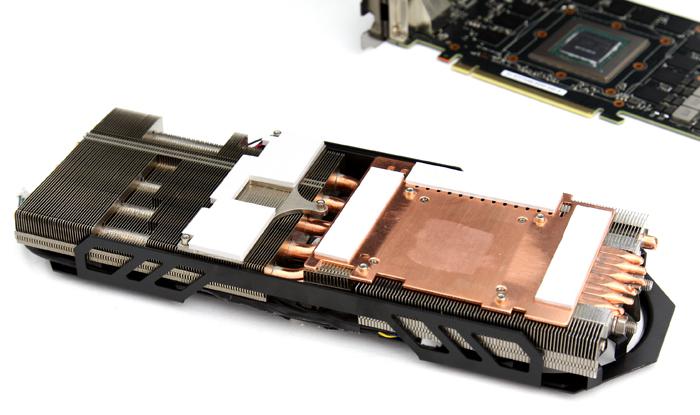
With the reference cooler removed we can now prep our card for assembly with the WindForce cooler. Gigabyte cushioned all critical components with thermal pads for you, just remove the stickers.
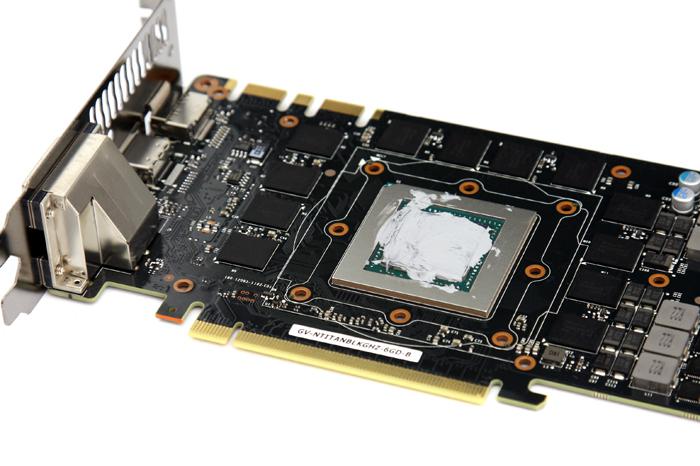
Great to see is that they took the time for such details, as you can see the VRM area and memory are nicely cushioned with proper thermal pads. We just need to apply some thermal grease to the GPU. Gigabyte provides the TIM as well with this 'kit'.
Don't forget to apply a little thermal paste onto the GPU, and YES I hadn't finished here. I usually dump a lot of TIM on there and then make a small TIM film layer with a sheet of thin hard plastic, something like an old bank pass or credit card. You move from top to bottom and then you will have a nice thin layer of TIM on the GPU.
There are two sets of power cables that need to be connected again, the lower one feeds the fans, the top side one feeds an LED light logo at the top of the card.
