Product showcase – The Build
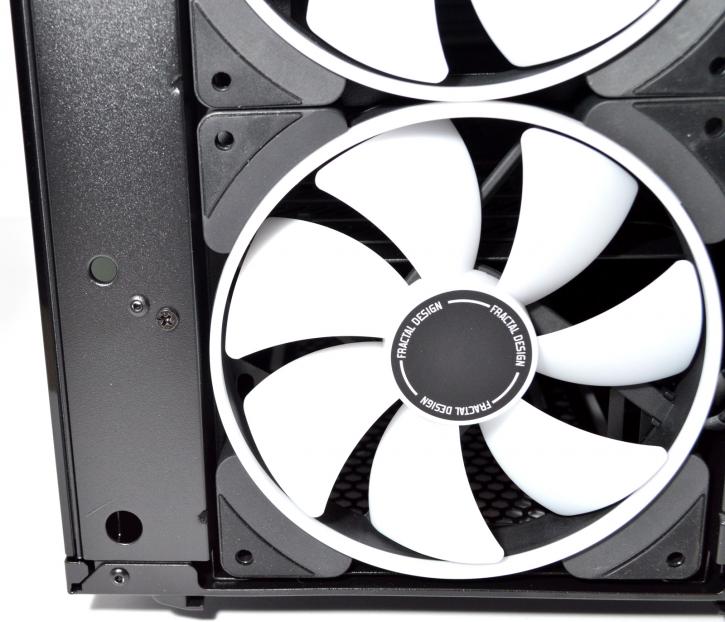
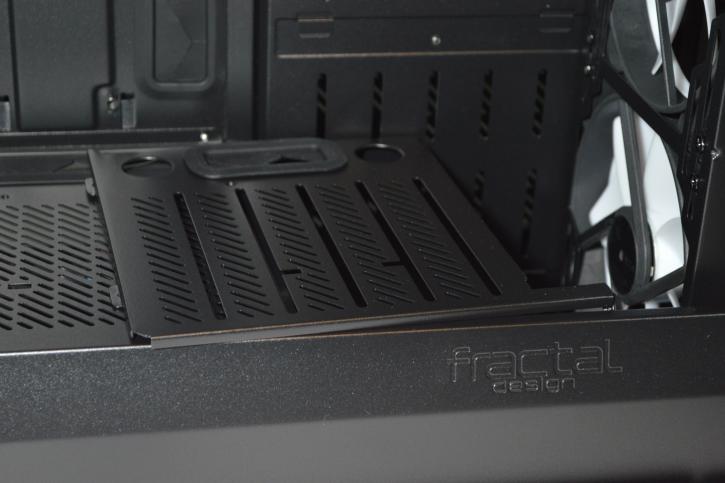
The top provides space for radiators up to 360 mm, but we still installed the NZXT Kraken X62 on the front for the purpose of measurements.
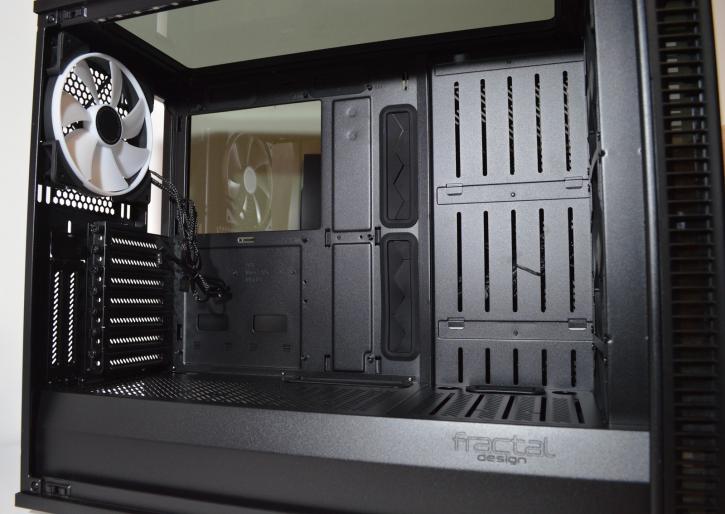
It was best to remove the front part of the PSU shroud in the process. To do that, you need to undo two screws, one behind the lowest 3.5/2.5” bay on the backside of the motherboard tray, and the other on the left side of the front of the chassis.
After that, removing the front part of the PSU shroud was very easy.
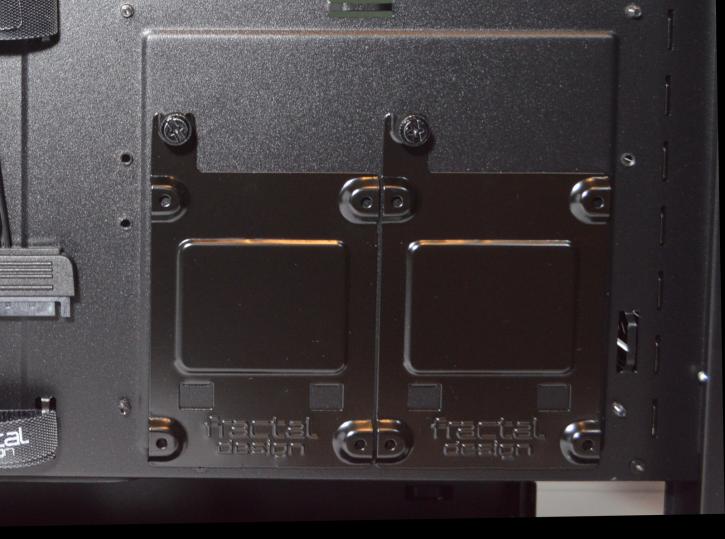
You can also mount an SSD on the back of the motherboard tray, right below the backplate cut-out. For that, you need to unscrew the thumbscrew 2.5” tray, secure the disk to it, and screw the tray to the chassis. You can put these trays in three other places on the PSU shroud as well.
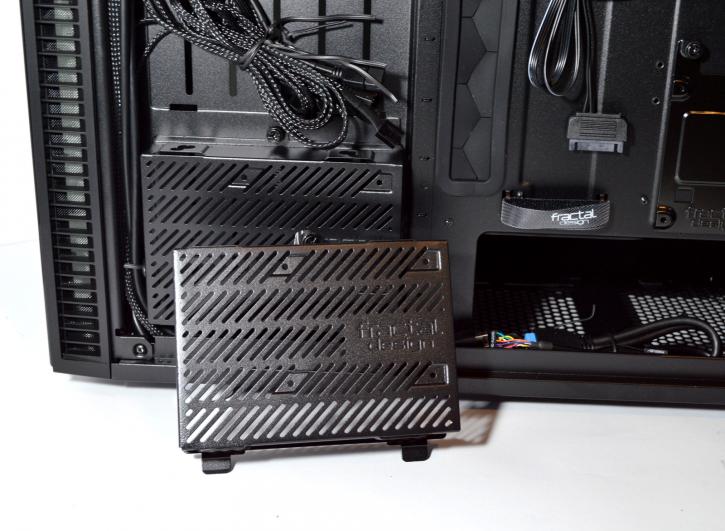
Installing 3.5" drives is simple (but not as much as with 2.5” ones). The process is similar, and exactly the same as in the regular Define S2.
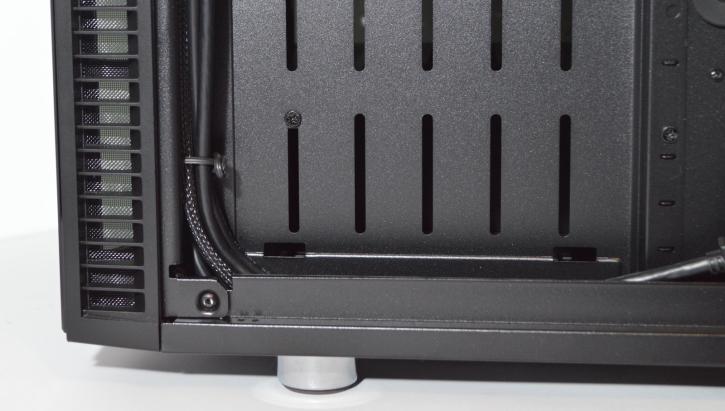
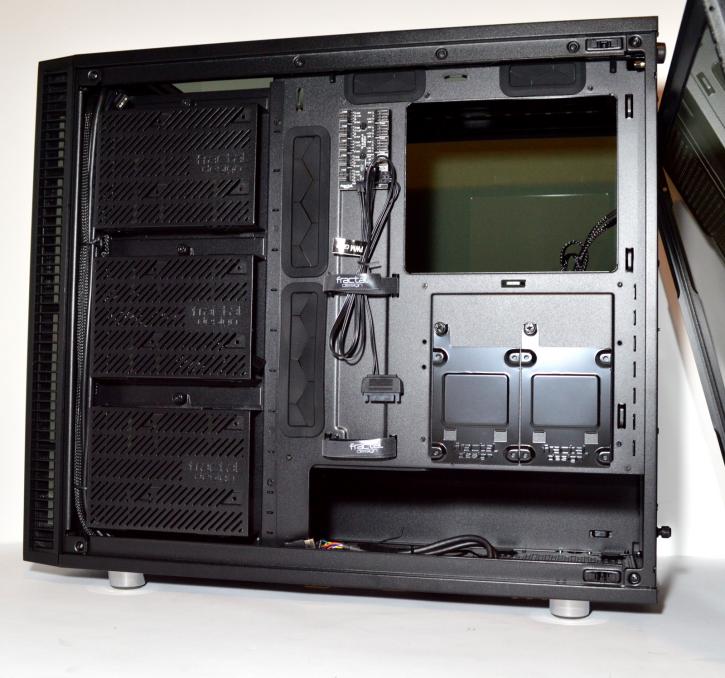
It’s quite easy to route cables at the back of the motherboard tray. Rubber grommets and zip tie mounts surely help in that matter. There is quite a lot of space on the left side of the back of the motherboard tray (23 mm), but some users (like me) would still like to have a bit more.
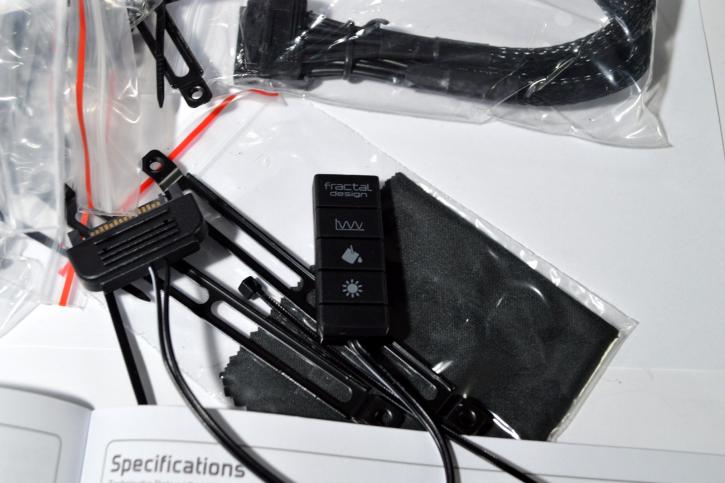
Last but not least – if you don’t have an RGB-compatible motherboard, you will surely want to attach the RGB fans and strips to the device that Fractal Design provides. It’s an R1 ARGB Controller which features:
- Simple and intuitive controls
- Compatible with standard 5V ARGB LED fans, strips and devices
- Preset color, color cycle, custom colour, long rainbow, and short rainbow modes
- Eight color presets and five brightness levels
- Six pulse and motion effects
- Integrated magnets for convenient placement
Input voltage is 5V, max input current is 2.6A, and up to 40 serial LEDs are supported. Let’s head to the last bit of the photo shoot.
