Product Showcase
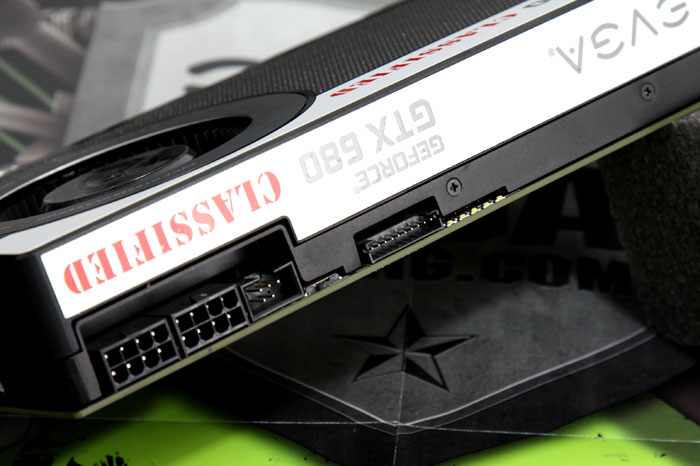
There's a lot going on at the top side of the card. We see that the card uses two 8-pin headers. Each one delivers 150W and add to that another 75W though the PCIe slot. It should be plenty sufficient for any overclocking session.
Moving to the right we see the EVBot connector, then somewhat difficult to see is a BIOS selector switch. You may choose in-between three BIOS'es - Normal, OC and LN2, in each step the power design advances and more power limitations are freed up. Finally to the right you can see another connector. From what we understand is that, EVGA is going to release some sort of Voltage monitor module so you can easily monitor voltages with a digital multi-meter.
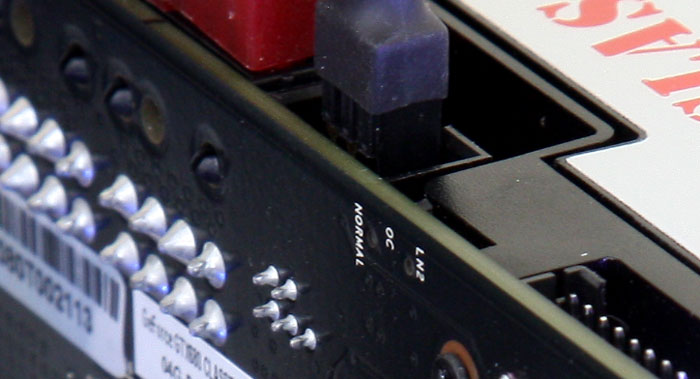
Hard to see, so we zoom in a little you can spot a small 3-way BIOS switch. Flick it, power up and you have activated the normal, overclocking or LN2 BIOS with overclocking protections being more limited. We'll talk about them in our overclocking segment though.
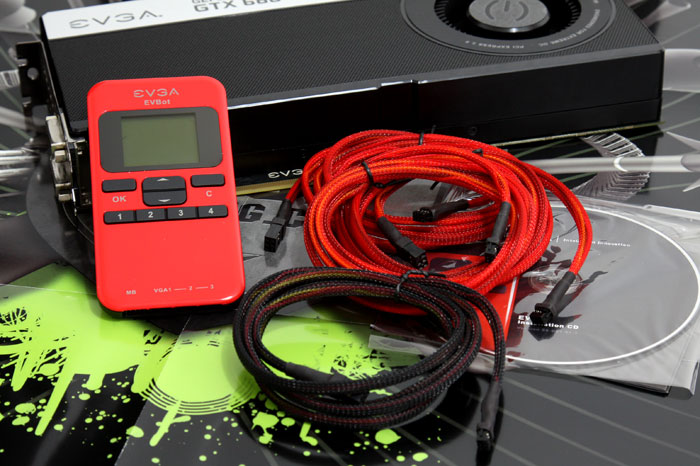
As stated we'll also throw an EVBot session at the card in order to achieve some more volts residing into that GPU. A very easy to use device, you connect it with one wire to the card and you can control the locked voltages at several levels. Compatible motherboards go even further and can be overclocked from this device.
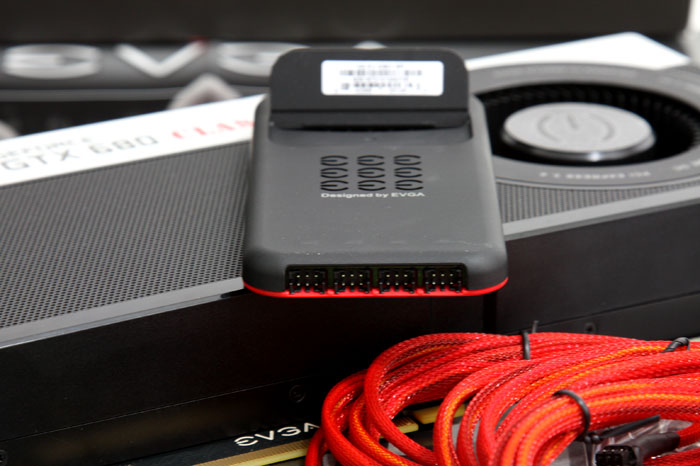
The downside is that after a power down you manually have to enable the voltage settings over and over again. Luckily the device can save profiles so you can achieve that pretty quickly.
