4 - Installation Continued

This is the backplane where the HDDs mount into. Nothing fragile, quite sturdy actually. The drives slide in there pretty easily. The drive cage can hold two SATA drives which slide onto a combination data/power connection.

Once seated on the connector, you secure each drive with four screws provided in the bundle of accessories. The four screw holes shown in the bottom of the tray are where it attaches to the housing when fully assembled. Like so. This really is a 3 minute job, nothing more.

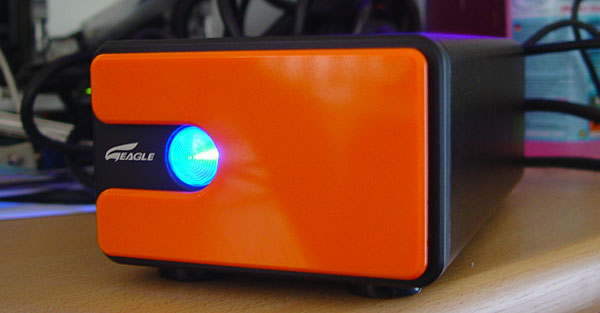
We can now power up the device by connecting the two cables and switching the power button on the back.
