Practical part - installation
Practical part - installation
Let’s start with the assembly. It’s pretty straightforward, and Cougar’s instructions are detailed enough. You can see here the video from the manufacturer. The *.pdf file is placed here. The guide is straightforward, manageable, and accessible. All included parts are listed, and you are taken step by step through the entire build. This makes it simple to build a Terminator gaming chair. When everything is taken out and taken out of the cardboard boxes, bags, and foams, proceed to the instructions when the cardboard boxes, bags, and foams are removed.. The only tool you need is an Allen wrench, which is included.
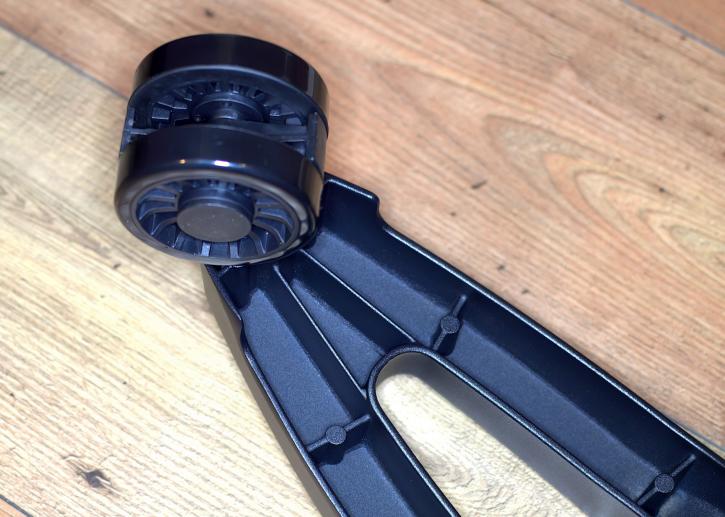
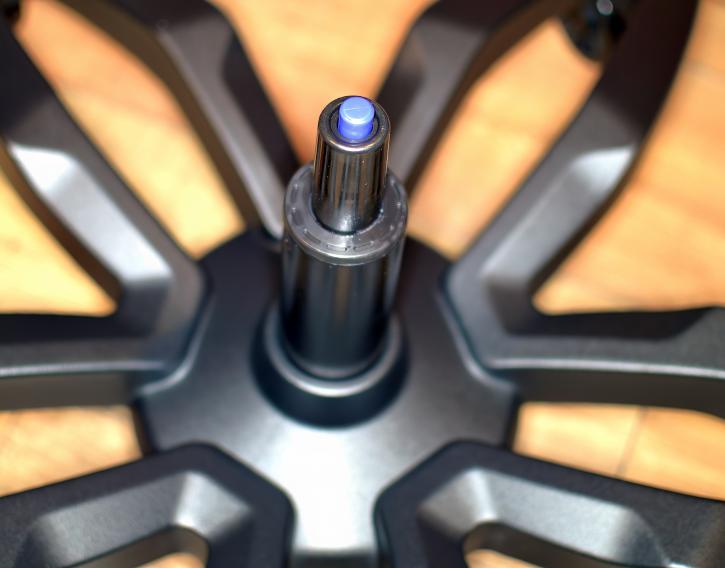
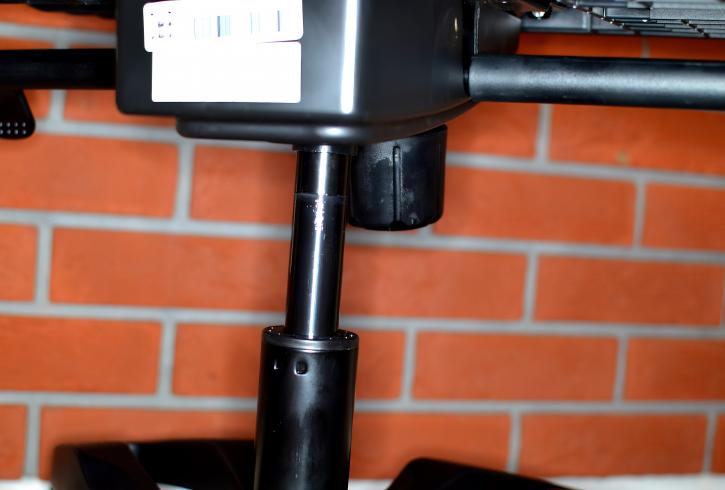
First, you need to put the five wheels into the aluminum wheelbase, and put in the Class 4 hydraulic piston.
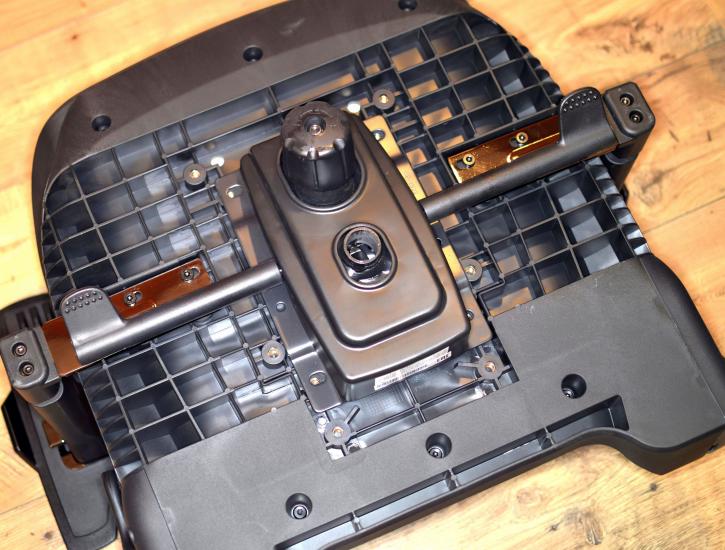
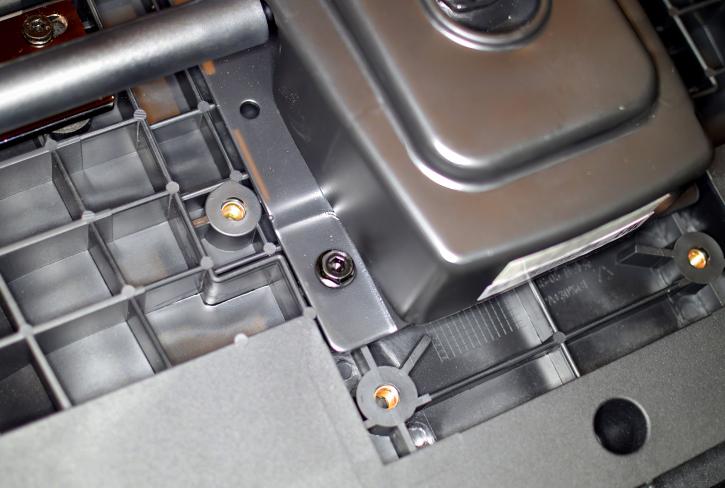
The next step is to secure the multifunctional tilt mechanism to the seat base using the four screws.
The combined tilt + seat base must be put onto the hydraulic piston from the wheelbase.
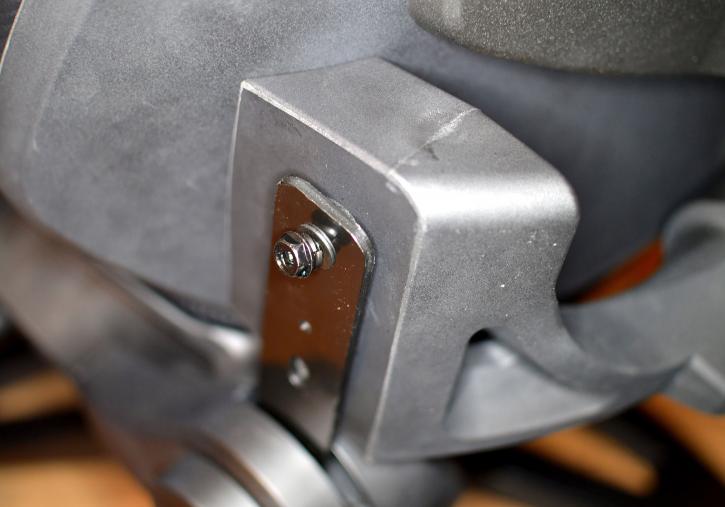
The backrest is secured to the seat base using the four screws.
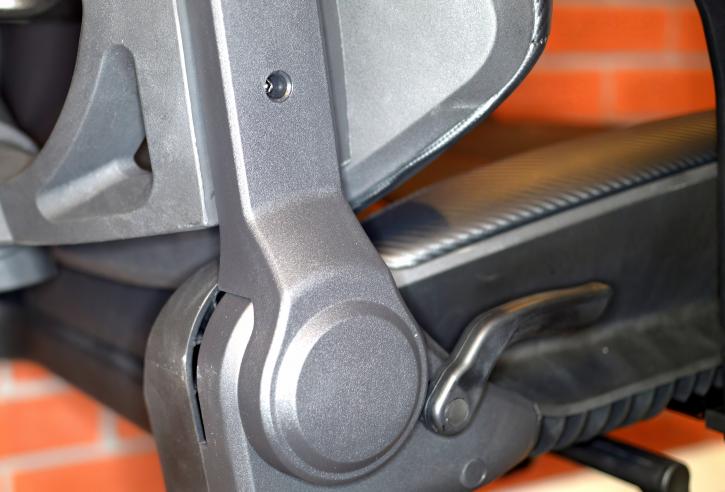
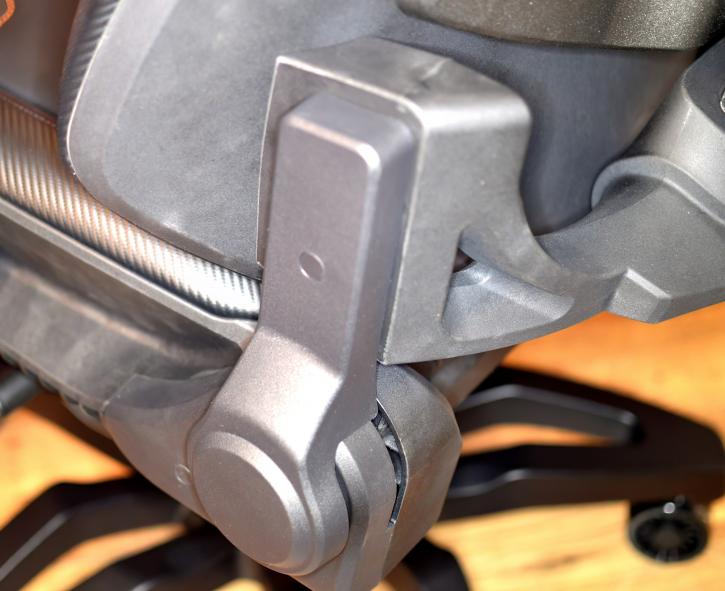
The seat back hinges cover is screwed using one screw per each side.
You can "hide" the screws behind the provided plastic cover. The process took about 15-20 minutes when doing it alone. The provided Allen wrench does the job as it should. Overall, if you have some experience assembling furniture like, for example, from a well-known Swedish retail shop, you should be fine. The three (quite) tricky moments are:
- Connecting the multi-functional tilt mechanism to the seat base, as the four screws must be put precisely;
- Connecting the backrest to the base, because it is demanding some strength and also some precision in putting the four screws which hold the two parts together
All pieces match well; nothing is dirty – thus won’t leave any stain on your hands or clothes.
