Installation and preparation
Installation and preparation

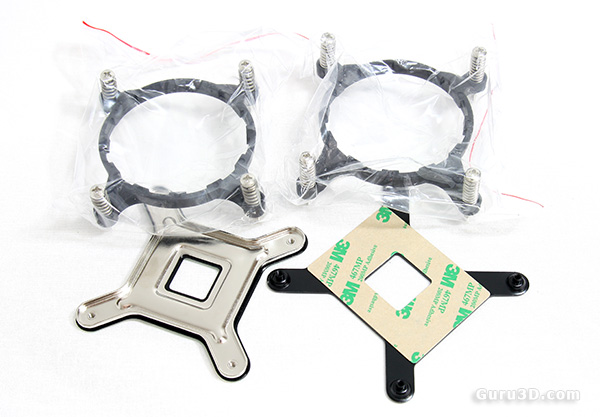
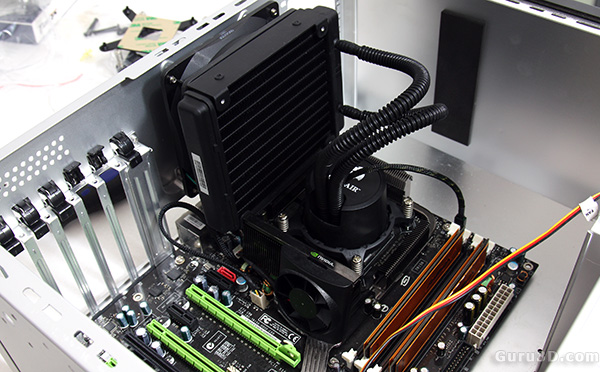
Installation then, here we have the gruesome part. A back plate needs to be installed. For socket LGA 775 you need to install the left bracket as shown above. First you need to take out your motherboard, then place and secure the back plate. At the top side you place the cooling block on top of the processor and you secure the entire unit with four spring based screws on the retention clip.
Installing the back plate is surely the most annoying part, other than that installation of the CPU block is very easy.

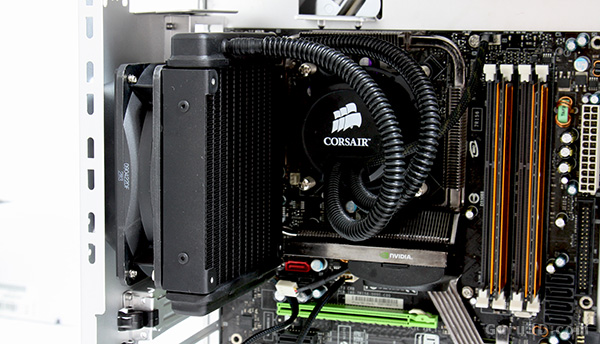
Once you have secured the cooling block you must secure the radiator and fan. Now our chassis did not have mounts for 120mm fans bored into the chassis. As such we had to use an extension clip that came with the chassis. The result of that was the supplied screws did not fit anymore. I very much dislike stuff like that. So after searching for some proper screws I finally was able to secure the unit.

Important fact: Corsair requires you to have the fan blow cold air inwards. Now that changes the entire thermodynamic system for nearly any current chassis in existence as the location for a fan right there is always to exhaust hot air coming from the CPU, chokes and voltage regulators.
So if you purchase this product, you'll need to be creative... flip around another fan. Example; the top fan, or side panel fan. The higher the better as heat travels upwards.
Corsair's requirement is therefore somewhat controversial, it will surely help keeping the CPU a few degrees cooler, but the hot air from the radiator thus is blown into the chassis, and to me that does not make sense whatsoever no-matter how many times I think about it. This way it is also blowing hot air over the components.
Flipside of the coin, modern chassis have plenty of ventilation, but we sure do suggest switching an existing intake to act as an exhaust to keep the airflow balanced. Flip one of the fans around and make sure hot air can be exhausted outside the system.

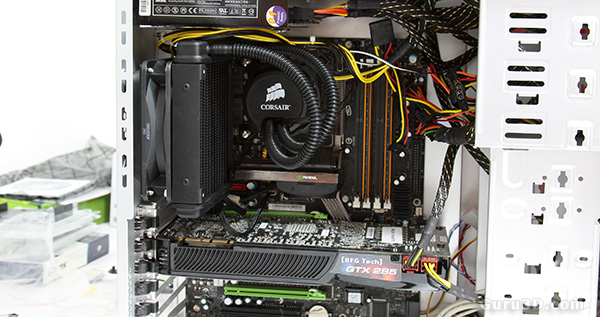
Okay so once we've installed everything, this is what it looks like. Let's spin her up and check out some tests we did with the cooler. Don't look at the messy wiring job please, it's just a test setup. We will now close up the chassis and test it on performance. We'll have a fan mounted and blowing out warm air at the side panel window.
