Product Installation
Product Installation
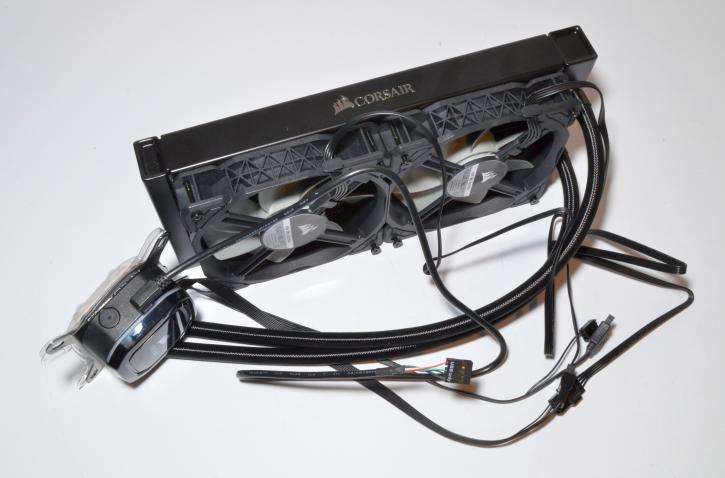
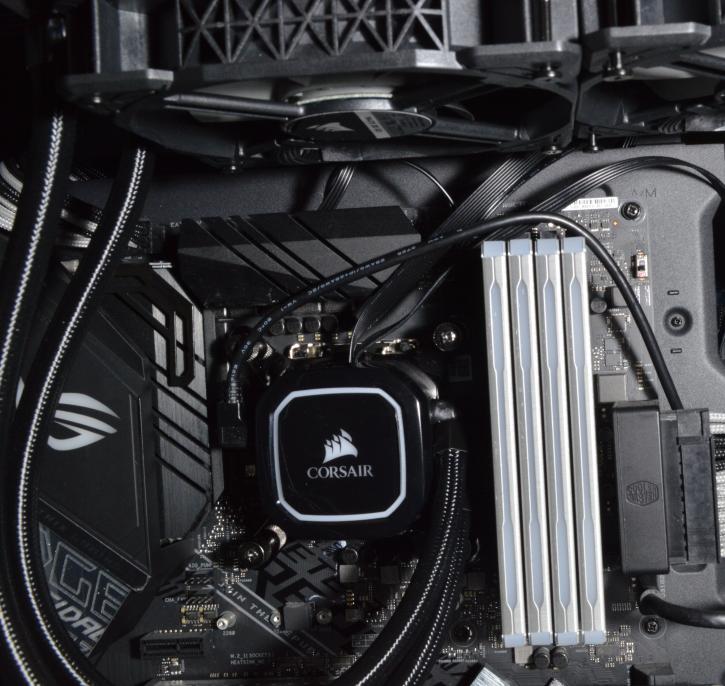
We are testing the cooler in a case, in order to recreate a real-life scenario. Here, you can see how many wires you will need to manage. In this case, it’s a simple task, as only the 3-pin fan, SATA, and USB cables need to be plugged in.
One remark though - the holes in the radiator are a bit small for the provided screws. That does apply for the longer ones (to mount the fans) as the chassis installation (shorter) ones. Even with the used force, it wasn't possible to do it till the end for all. The pressure of the block is very good. The tubing is relatively flexible, and its position can be nicely adjusted.
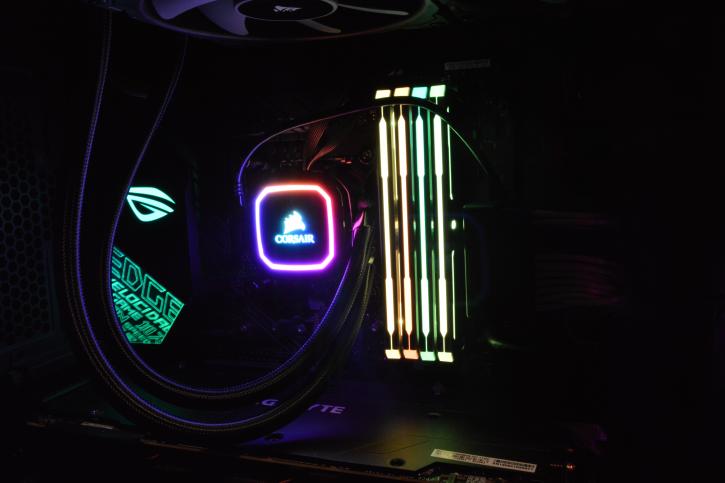
(the fans were flipped to the correct position later, don't worry). Here’s a small teaser of what the H100i RGB PRO XT looks like after booting. Wanna see more? Then head to the next page.


