Product Showcase
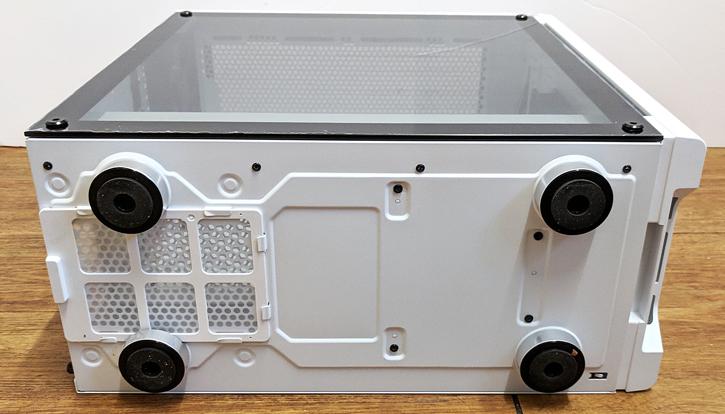
My favorite bit of the review... TIMBERRR! Chassis on its side, we get a good look at the bottom of the unit. There is, naturally, no full-length filter. This is entirely because there are no bottom mount fan slots, so the presence of full-length dust filter would be pointless. The base has not changed one bit from the 270R, and it didn't need to. The PSU's filter is removable, held in by four tabs. Simple, but effective. Had I not removed the accessories box beforehand, you've have seen it now, the box slotted into the bottom drive cage.
A word on build quality and weight, at this point. I stated earlier that the case weighs in at a shade over 7.2kg (with the aforementioned caveat). It is fairly hefty, and whilst maybe not great for whenever you need to move the case around, you only need to do so a few times (e.g. a house move). If you need to lag your PC around a lot, maybe go mATX or ITX? The panels themselves are milled out of steel and have a slightly unusual 'matte' feel to them. The metal is not smooth to the touch, but I don't mind. For one, it actually makes the case easier to grip. For two (and, for me), things that are matte or have a 'blasted' texture feel more high-end or premium. I don't know why I feel this way, but I do.
We come now, somewhat, unfortunately, to my one genuine grip on the case. The retention screws. The screws holding the back panel in are a fairly standard thumb tight affair and happily stay in place even when the back panel comes off. They, however, are not the problem. For the record, I am legitimately sorry to be genuinely negative for a time here.
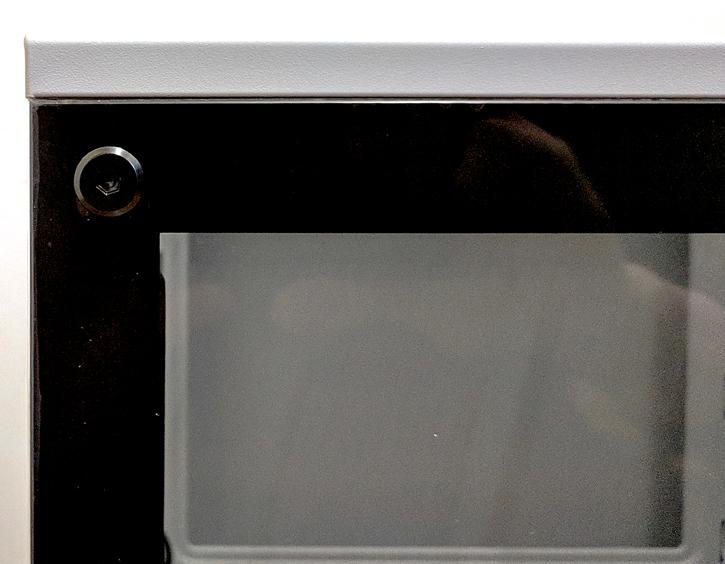
The tempered glass side panels are held in by four rubber protected screws. These are not workable without a hex key (which, fortunately, is provided). This is mildly frustrating, as other cases manufacturers have made TG paneled cases that use simple thumb screws protected by rubber/felt. The second issue that the rubber caps have a tendency to pop out whenever you attempt to re-insert the screws, so you can re-install the panel. Finally, reinstalling the panel was impossible with the case standing up because the frame does not 'capture' the glass panel. The four screws are all that hold it in, and there is no clip or ledge on which the panel can rest whilst you do up the screws... Anyway. I feel as though I should point out that laying the case on its side did essentially resolve all but one of the above issues (i.e. needing a hex key in the first place), but it was nonetheless frustrating.
Given 2017 was the year of RGB and lights, it's not a huge surprise to see that Corsair included some built-in LED lighting, allowing the gap at the bottom of the front panel to light up. It is little touches like these that make me almost entirely forgive the previously mentioned struggles I had with the glass panel. For 79.99, it sure is very, very good looking. Kudos, Corsair.
The accessories box is simple enough. A reasonably well-illustrated manual (though more on this later) and individually bagged screws are appreciated touches, as is the inclusion of some cable ties to help tidy up your mess behind the back panel. Motherboard standoffs are actually pre-installed, which is always welcome.
The case's interior features - to me - more than enough room to work in. The same issue that some might face with top radiator clearance (40mm) is still present here, as 40mm for both fans and radiator does not leave a whole lot playing room. It is, however, enough for most fan and radiator combos.
You'll notice that the 270R has a significantly longer PSU basement when compared to its older cousin. I think this is mostly to do with cleaning up the case from its previous incarnation. That said, given that the 275R can support 180mm PSUs, this should be easy enough room for units of up to the 850W mark. We will show you a PSU installed later, naturally, a 650W Corsair TX650M, which is about the right size of PSU for a case this size. This should give you some idea of what components are intended for a chassis of this size.


.jpg)


.jpg)
