Product Showcase - Interior
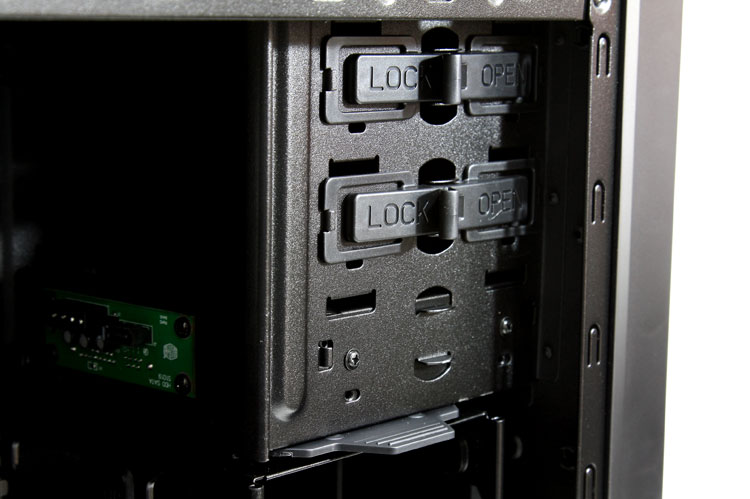
As stated. Optical drives are easy too install as well, in fact ... a little too easy ? :) Slide it into the bays, line up the pins and slide the lever to lock.
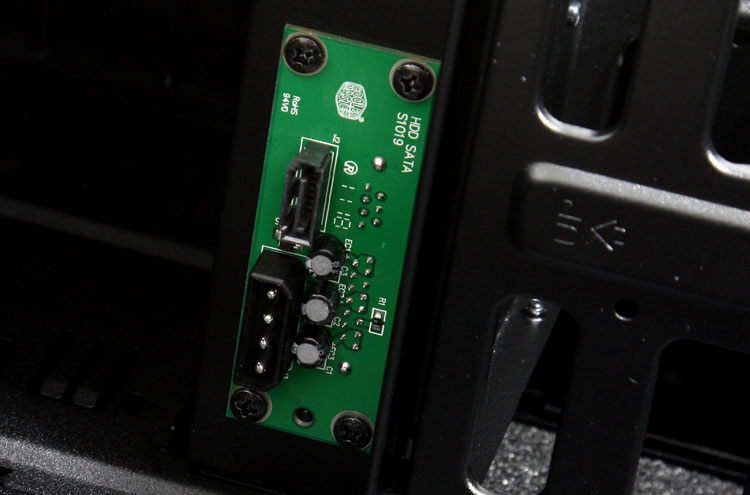
The little green PCB is for the X-Dock. Just connect a Molex cable and a SATA cable to it and you have an easy top use hot swappable HDD bay for 3.5" devices. Typically with CM the XDocks are on top and visible. For the Silencio however, it's located BEHIND the door once again to prevent noise, clever.
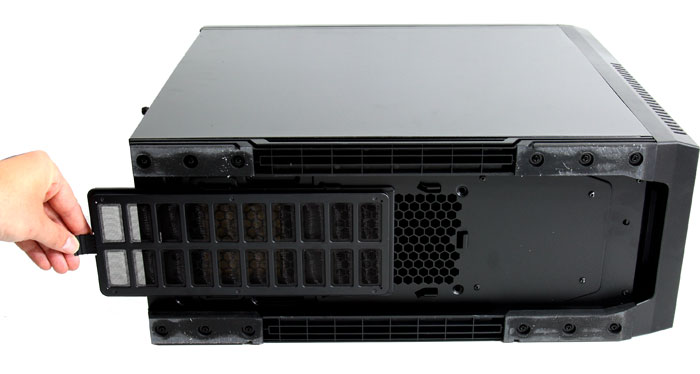
The bottom of the chassis has four rubber feet, again to prevent resonating noises. We also see a dust filter that can be removed and cleaned underneath the PSU, the gap is there to function as an air intake for the PSU of course. You can simply pull that out and clean it. We'd advise regular ATX form factor PSUs but ones that are a tiny bit longer won't be a problem either.
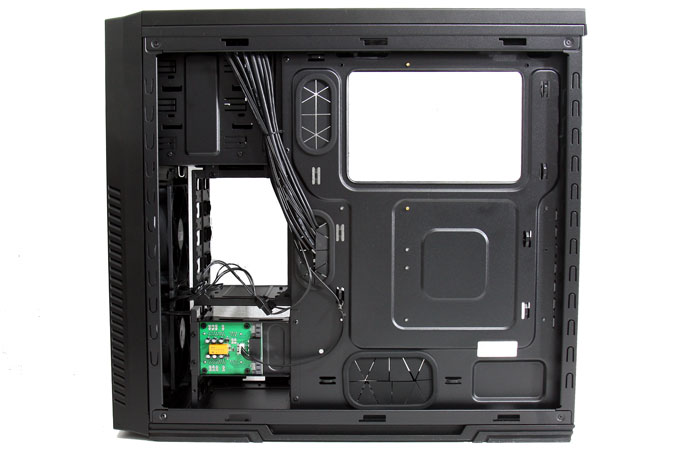
This is the back motherboard tray side of the chassis without the side panel. So we are behind the motherboard, there is decent space for cable routing, not Haf-X spacious but 'decent' enough.
Should you ever need to replace your CPU cooler, well your chances of NOT removing the motherboard have increased dramatically. Simply take out the right side panel and thanks to that gap in the motherboard tray you can access the backside of the motherboard, which typically holds a back plate for the CPU cooler.
The green PCB is the dual boot controller. Let's zoom into that one:
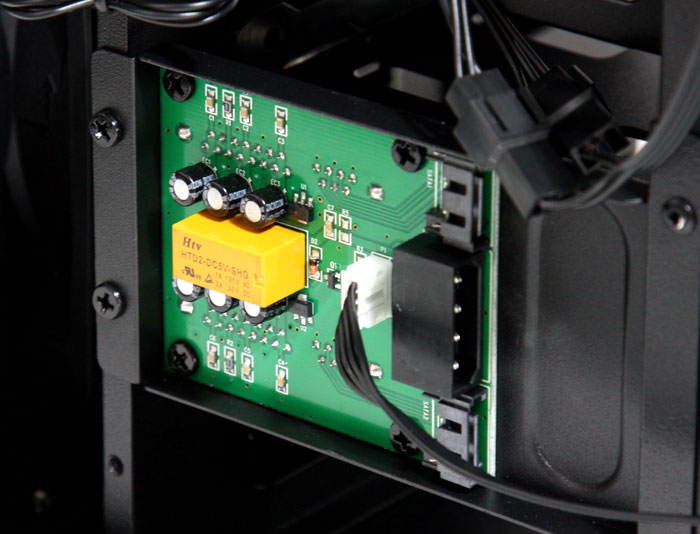
Here we can see the Dual boot PCB a little better. Again Molex connector is required to feed it and the two SATA leads go to your motherboard. What's on the other side you might wonder ?:
