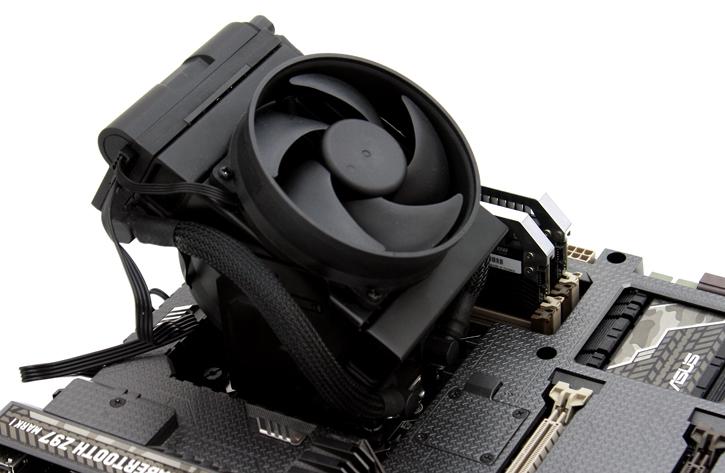
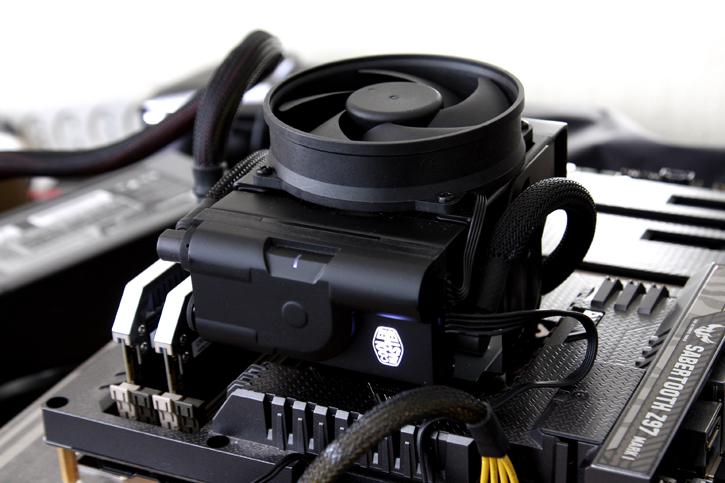
Product Installation
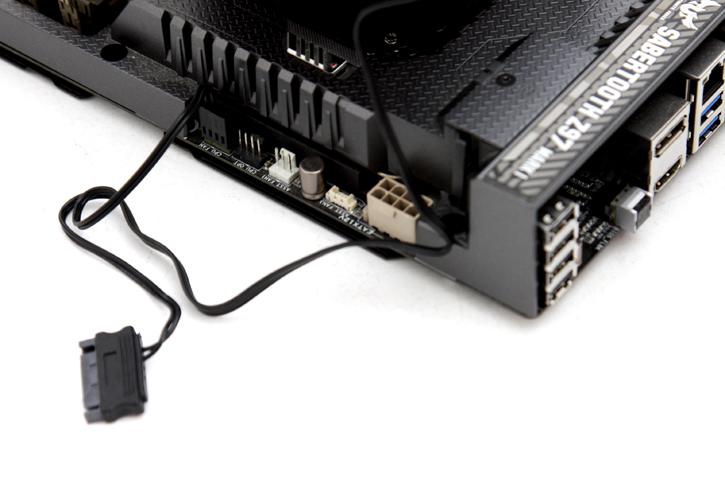
Once seated you can now connect the fan cable to either your motherboard CPU FAN headers or a FAN controller. The power is being fed from a SATA power connector. So yeah, once the motherboard is out, 10 minutes work maximum, we positioned the cooler and are ready for the first test run.
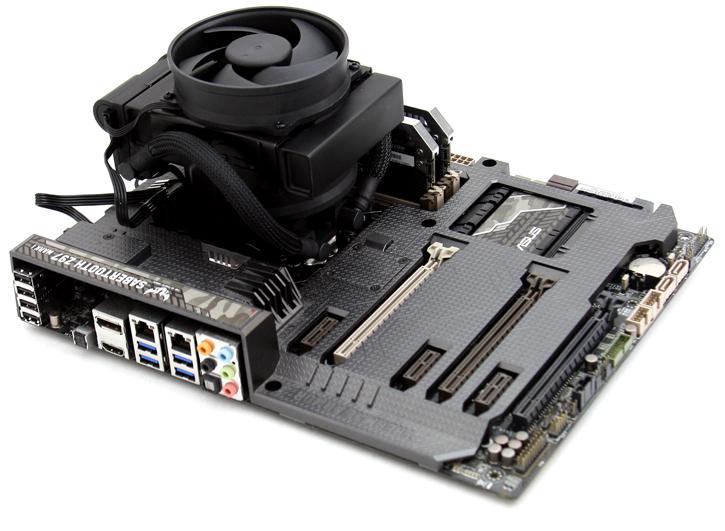
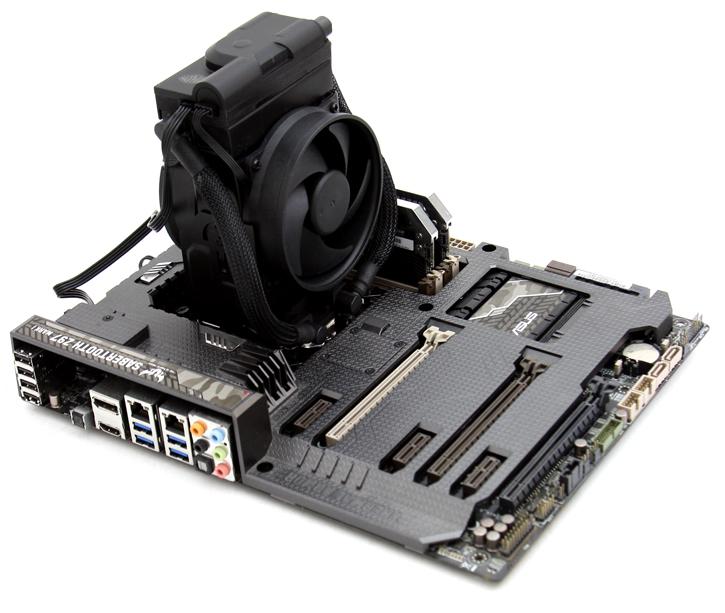
It is totally up to you how you want to position the fan, bear in mind that we are forced to mount the unit in this position as when we rotate the cooler position 90 degrees we hit the plastic shielding of the Sabertooth motherboard, and thus we cannot/could not mount the unit securely.
Above, the finished setup - it is a fascinating product to look at alright. Here you can see that we swivelled the rad a bit backwards, you have 90 degrees in angles to play with. Airflow is blown downwards thus the air flows over your motherboard, or when in an upright position blows to whatever you point it at. Once powered on the product remains silent, the Cooler Master logo is lit up by a white LED.
