Product Installation
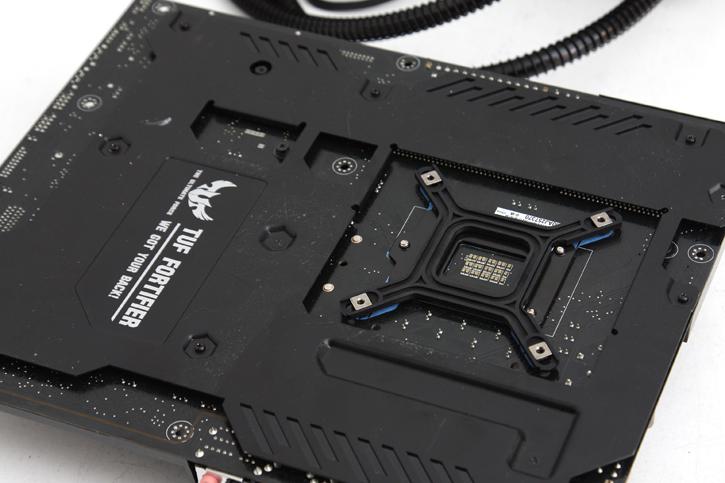
Mounting the cooler is a relatively easy thing to do, though the motherboard needs to come out of the chassis unless you have a chassis with a mainboard cutout for CPU cooling. Now you first prepare the backplate. We first apply the backplate which we then line up and install at the backside of the motherboard. Just push it through there. The backplate is a bit wobbly to install though as the retention pins do not pass deep through the motherboard holes.
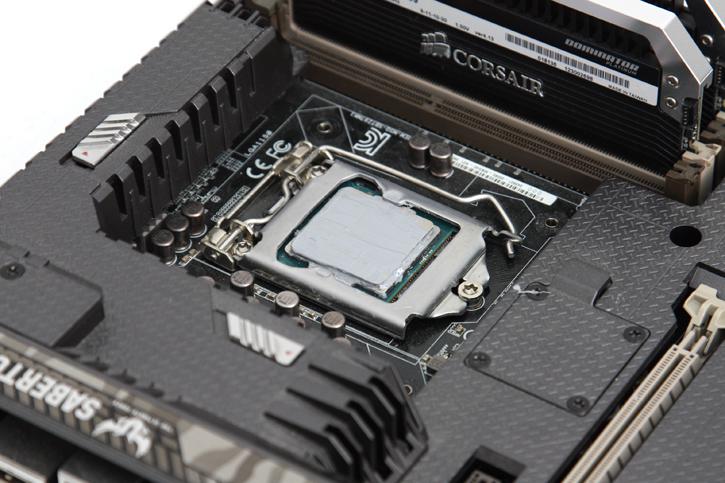
Once done you need to apply a little thermal grease on the processor. Now that looks like it is plastered, but the exposure of the photo makes it look worse than it is, this is a thin film layer. You can see the four holes surrounding the socket, the bracket is pushed in there properly.
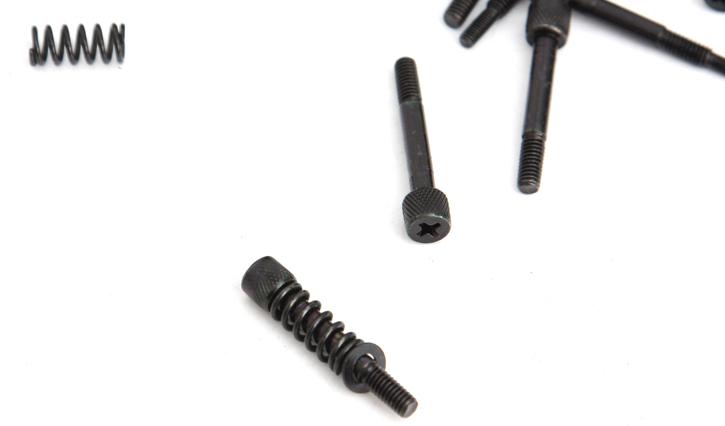
You are now almost there as the one thing left to do will be mounting the CPU block. take the mounting screws, apply a spring and a washer (x4).
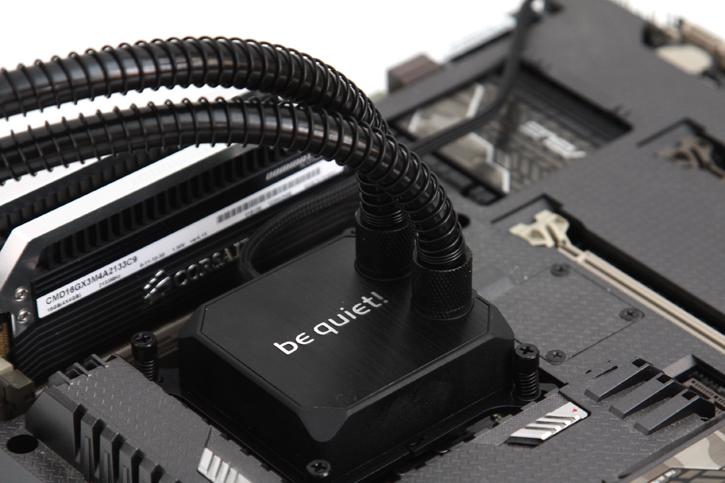
Once you seated the block you screw it secure with the spring based screws to the left, right top and bottom. Turn the screw driver until it's tight and you are done. You need to connect the pump wires towards a secondary or dedicated FAN header.
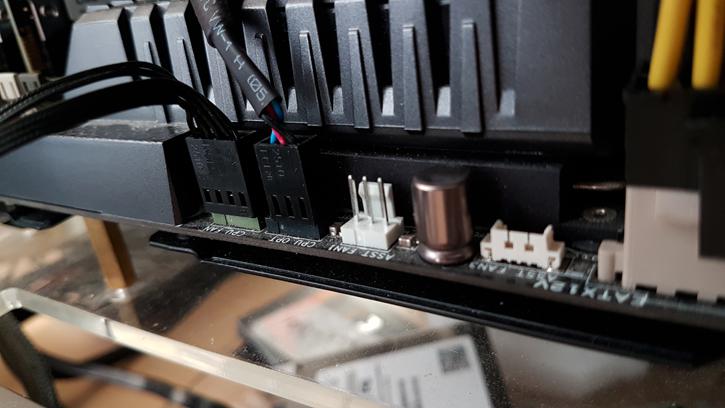
Once seated you can now connect the pump lead to a motherboard FAN header, make sure it will get enough power. The fans (connected through the y-splitter you can lead to the CPU FAN header). All this is 15 minutes of work tops, we positioned the cooler and are ready for the first test run.
