Storage & RAID setup
We are testing with the 4-bay version and we'll focus mostly on a RAID5 setup as we will want to stress that 10 Gbit connection as much as we can. As you can see I used three different brands 240GB SSDs in this example, that worked out just fine.
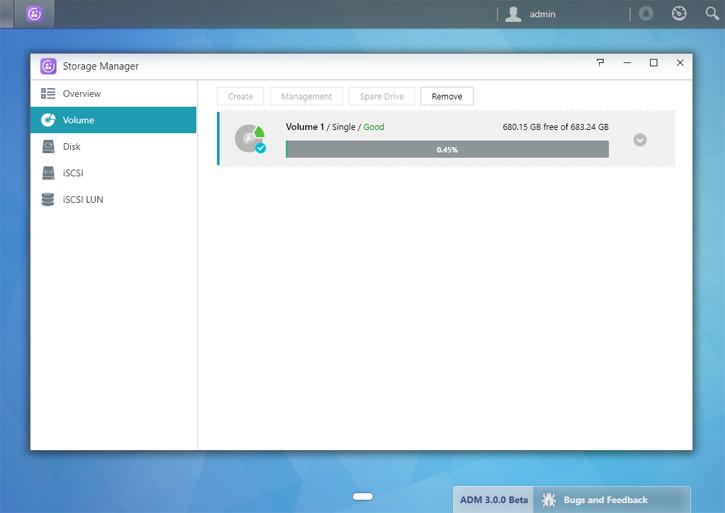
In the above example, we have used just one SSD. That we assigned to be Volume 1. Obviously 99% of you are only going to use HDDs, but if you place your NAS in a home environment or for that matter a SOHO environment and will be running NAS APPs like CMS systems or download software on the NAS unit, then an SSD might be a terrific choice to speed up your overall IO, as HDDs remain the dinosaurs of IOPS.
Some example setups you can manage with 4 bays:
- 1 x 1 TB SSD for OS and APP related functionality to get the best performance out of the NAS.
- 3 x 2 TB set up in RAID5 for a bit of long time storage paired with redundancy (the raid array will allow for one HDD failure).
- 1 x 2 TB set up as hot-spare. If one HDD dies, this hot-spare will kick in and repair the array to a normal functioning one, hence that is a little extra safety for your data.
In the screenshot you can see the SSD storage unit listed, we have already set up the SSD. If you wanted to go JBOD or RAID 0/1/5 you can use the volume setup wizard here. There is a lot of flexibility, you could just use 4 HDDs in RAID5 but also go for, say, RAID5 in a 3+1 hot-spare configuration so when one HDD fails, the hot-spare kicks in automatically and repairs the array. But you can also mirror and stripe (RAID 0/1) or simply build a huge JBOD unit and get yourself one massive volume.
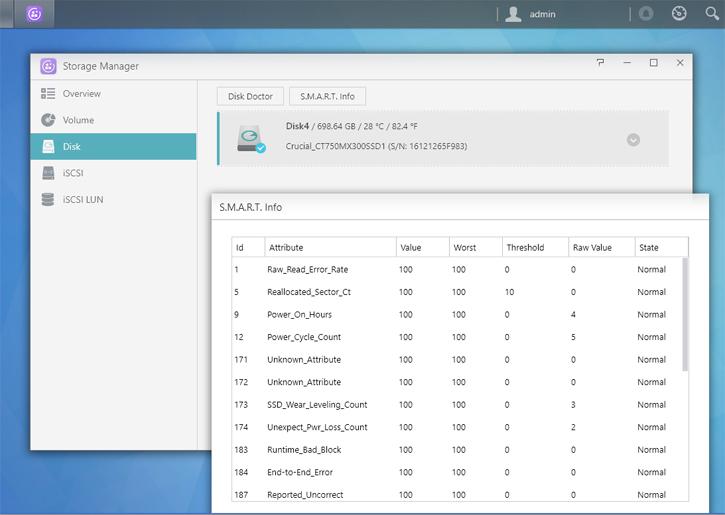
Once your setup and volume is created, initialization is finished really fast. RAID will now typically have to synchronize, this can take hours or minutes depending on volume size and the CPU performance. No worries though as you can go on and use the NAS and even already save files. Meanwhile feel free to play around with the features that ASUSTOR has built-in, from encryption to SMART, it's all there.


