Photo overview
The Monitor
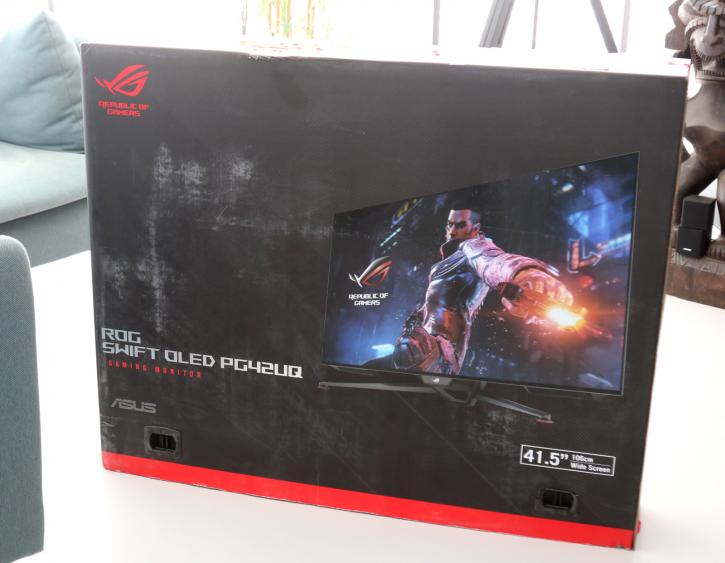
We received this monitor a week or so ago. You can spot them in retail as of today, closing in at 1500-1600 EUR/USD, which is a lot of money right. Well, let's unbox.
The ASUS ROG Swift PG42UQ monitor has a design that is very similar to the other ROG monitors in terms of appearance. As a result, this screen will stand out from the masses. ASUS has included a new brightness uniformity feature, which delivers greater constancy in brightness levels. This is a ROG-exclusive feature that helps the PG42UQ stand out from the crowd.
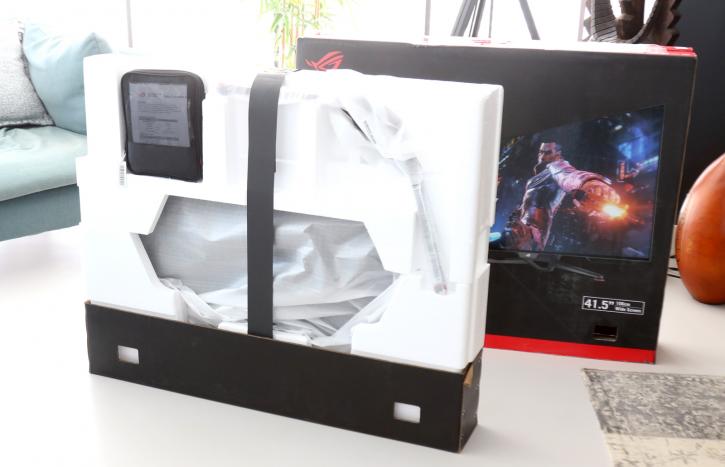
The box's shell pulls off, exposing the monitor, with construction requiring two people to complete. Four simple screws secure the stand to the back of the display. This is the sole piece of hardware required for this display. Once unpacked you can see a very nice thin OLED screen though; however, backed by heatsinks making it thicker again. The product is carefully packaged. No loose separated power brick this round, just connect your cables.
The PG2UQX is equipped with cooling for the components behind the display panel. All you need to do is mount the stand with four screws, and hook it up.
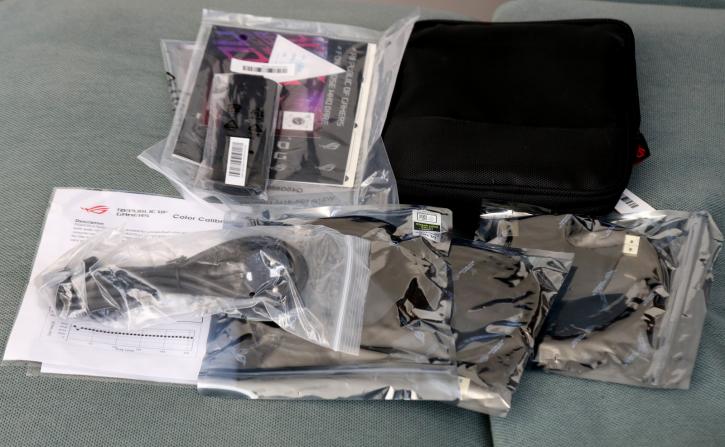
Included are DP, HDMI, power cable and a manual as well as other small stuff. On the bottom of the screen, there is a useful 5-way navigational joystick for adjusting the settings and OSD, as well as a small and reasonably simple remote control. The screen includes decent 10W speakers as well.
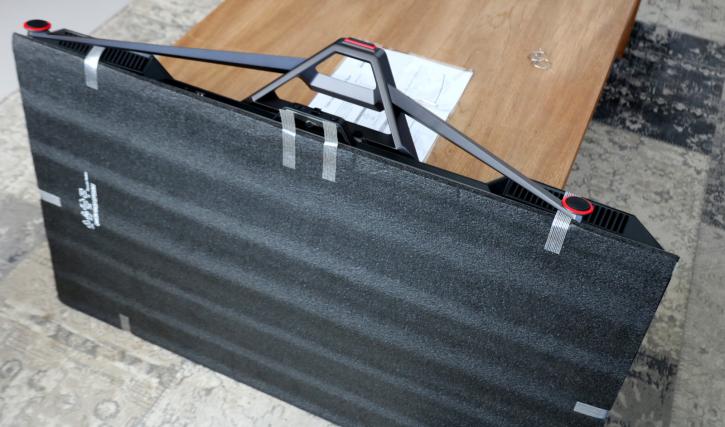
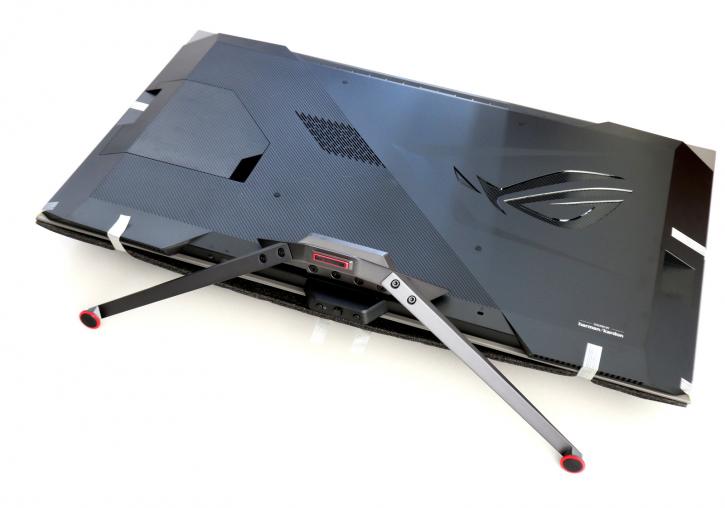
PG42UQ has little circular pads on the pressure points of the stand to aid boost the stability of the panel - ideal for people who don't have a high-end desk. Moving back, there aren't many visual features to discuss. A huge ROG logo can be found on the back, along with a number of vents that aid in the operation of the monitor's innovative heatsink system. To help keep temperatures down, a huge grill has been added at the top of the display. Here we see the monitor on its belly; of course, protective foam is still on the front side. You can spot the ASUS ROG logo, at the bottom side controls, and to the left side connectivity. The power cable connects (weirdly enough to the right). We'll show you that in more detail on the following pages though.
