ROG Ryujin 360 (continued)
Showcase ROG Ryujin 360 (continued)
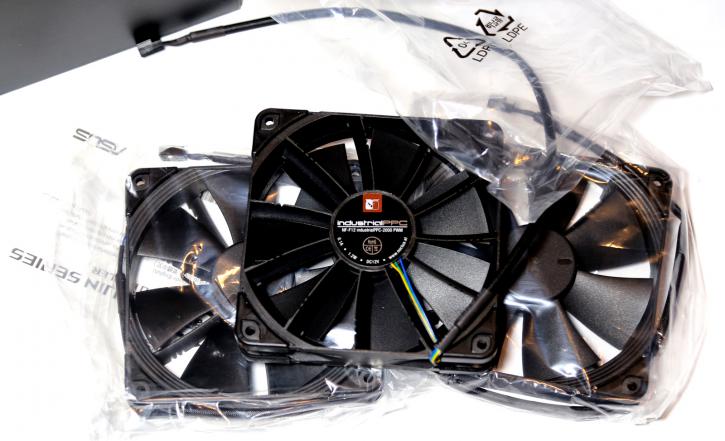
The three provided fans are the Noctua NF-F12 industrialPPC 2000 PWM. They have 7 blades and create good static pressure. The front has no stickers on it. On the back you can see Noctua branding. There are black anti-vibration pads on all mounting corners (they can be changed to other colours with Noctua Chromax), and that’s an advantage over the fans used in the Ryuo 240.
The basic specifications are listed below:
- Fan Dimension: 120 x 120 x 25 mm
- Fan Speed: 2000 RPM +/- 10 %
- Fan Static Pressure: 3.94 mmH2O
- Fan Air Flow: 71.74 CFM
- Fan Noise: 29.7 dB(A)
- Control Mode: PWM
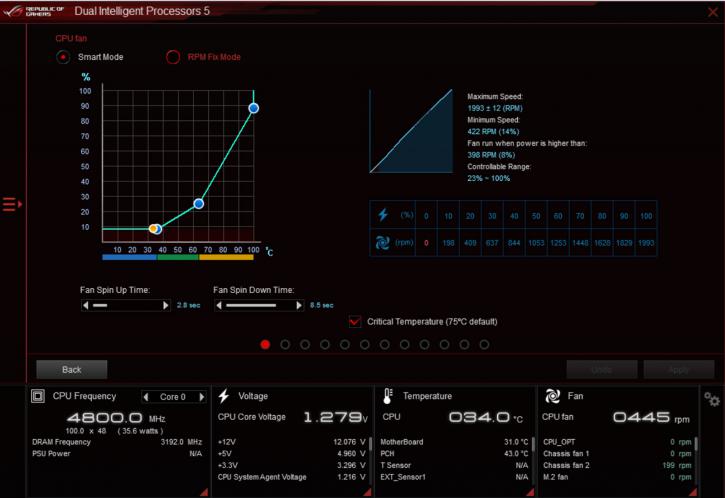
In practice, the useful RPMs are as listed below (screengrab from Asus AI Suite), and similar to the Ryujin 240:
In Fan Xpert 4, it was possible to set the RPMs as low as about 400 (in Extreme Quiet mode), and the maximum is about 2000 rpm, just as declared by the manufacturer. You need to remember that results may vary depending on the fan sample and on the motherboard too.
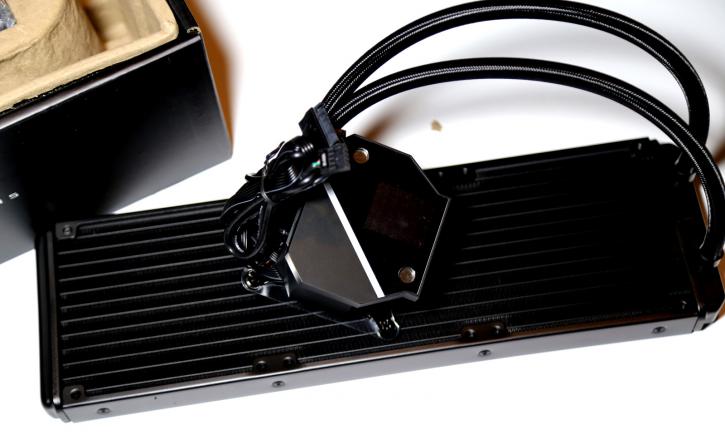
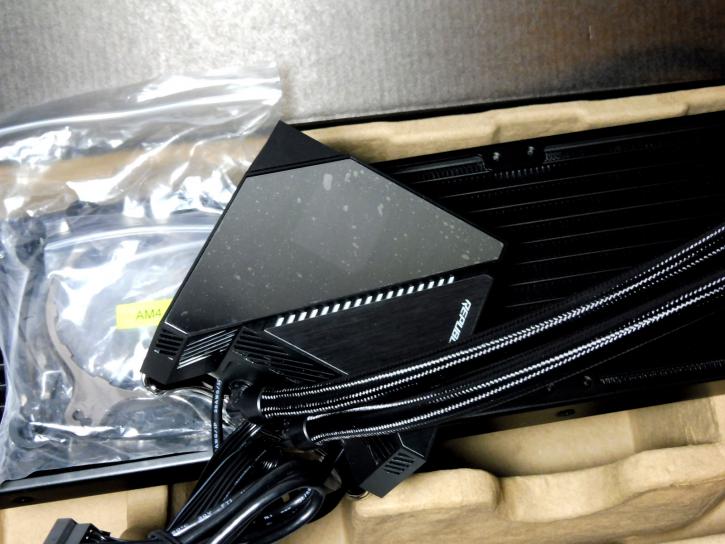
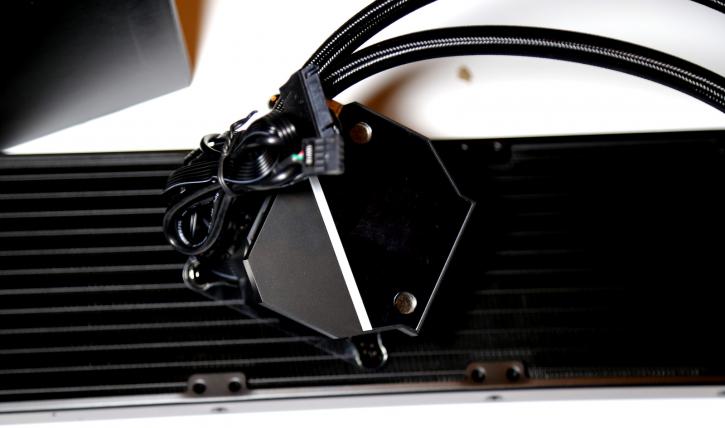
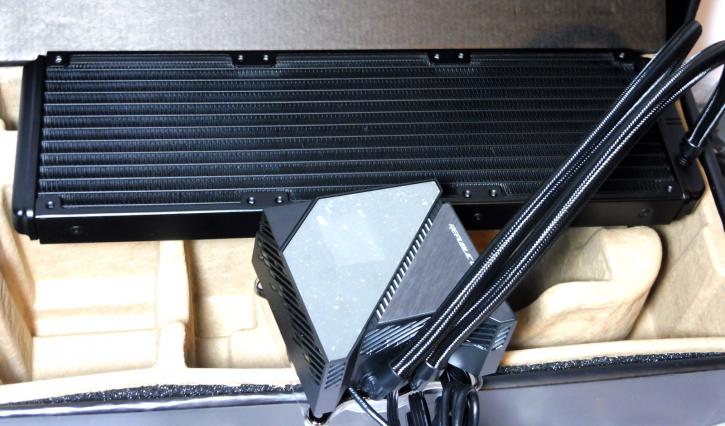
The slim, aluminum radiator with many fins doesn’t stand out from the crowd. The dimensions are
394 x 121 x 27 mm. The FPI is 20, so it does require high-pressure fans.
Here’s a feature that you’ve already seen on the smaller, 240 mm model, and that makes a really good impression - a 1.77” OLED display on the top.
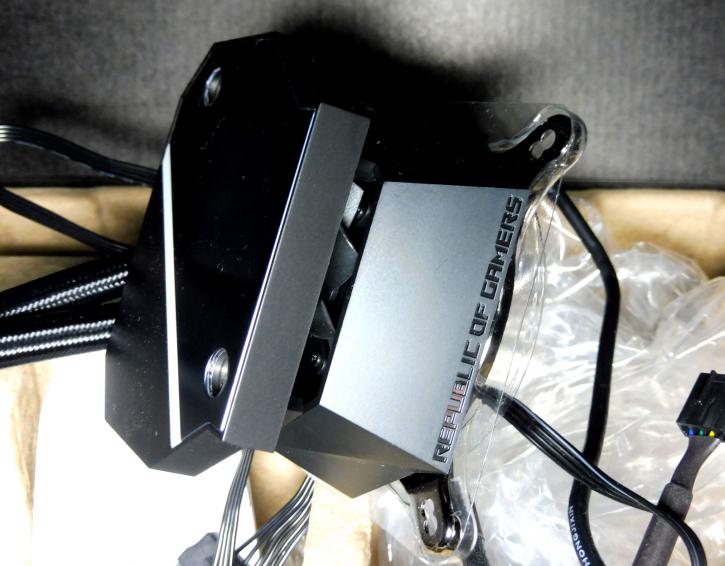
The top cover is removable. Under the top part, you can find a 60 mm fan designed for cooling the VRM and M.2 area on the motherboard. Its specifications are listed below:
- Embedded Fan Speed: 4800 RPM +/- 10 %
- Embedded Fan Air Pressure: 3.94 mmH2O
- Embedded Fan Air Flow: 19.41 CFM
- Embedded Fan Noise: 31 dB(A)
Luckily the RPMs can be reduced in the Asus AI Suite, because the fan can get quite noisy at the maximum speed.
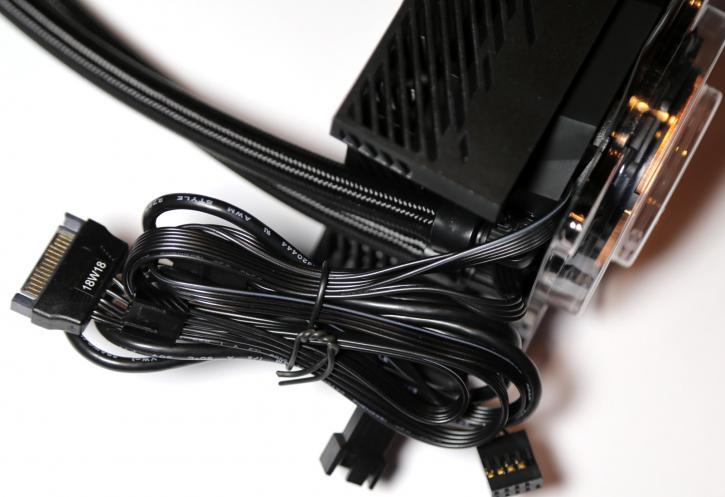
Four flat cables come out from the side of the block:
- ~300 mm SATA cable
- ~300 mm 4-pin connector cable
- ~280+50+50 mm 3 way-splitter cable for fans
- ~930 mm Micro USB cable
The ROG Ryujin 360 uses 380 mm long, flexible rubber tubing with sleeves on for better aesthetics. Let’s head to the assembly part.
