Product Gallery ASUS M4A89GTD
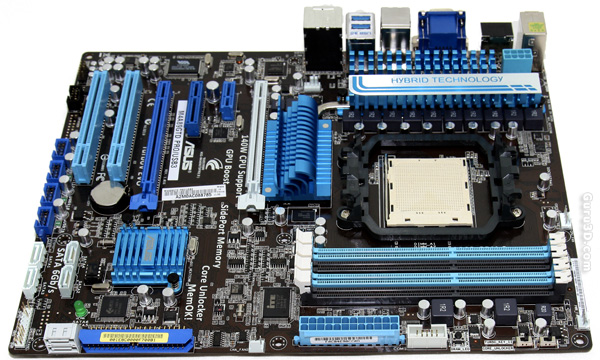
When we flip the board around once more we spot 4 DIMM slots. Up-to 16 GB can be configured here. The 24-pin motherboard connector is placed reasonably okay in the lower middle. A little hard to see, but to the right there are some buttons and switches. You'll find MemOK there (explained many times now), Turbo Key II (for a little extra performance), interesting is a switch for core unlocking. Apparently with a disabled core on a triple core CPU, you can unlock it by switch.
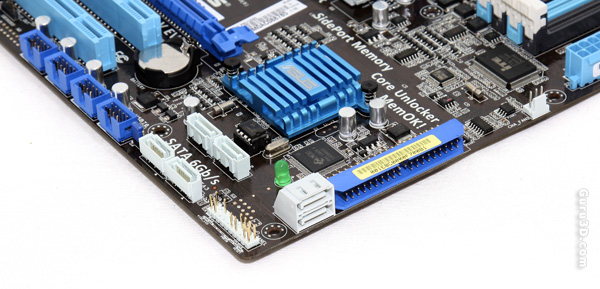
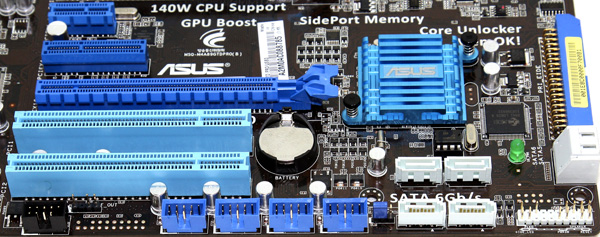
Moving slightly to the left, here we see six SATA3 ports. The SATA ports pointing upwards do not block a dual-slot graphics card BTW. Though the 90 degree angle/bend SATA connectors definitely would have had my preference. All ports are SATA3 thus SATA 6G creating massive bandwidth for SATA3 compatible storage units.
The left side of the motherboard. Underneath that little blue ASUS logo'ed heatsink the Southbridge chip is located; SB850. Below it we spot the front panel connectors, not color coded, and roughly in the middle we spot another several headers for USB ports.
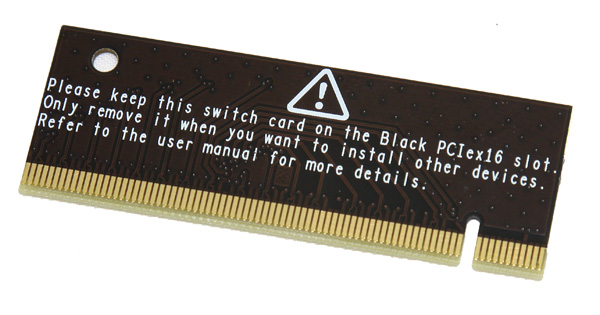
You'll also receive this little ASUS VGA switch card. Basically it functions as termination for the primary PCIe bus. It will allow you to use the lower blue physical x16 slot at PCie x16 (instead of x8) when you install just one graphics card. So if you insert the card in the lower x16 slot, insert this card in the upper x16 slot. Not the most charming solution alright.
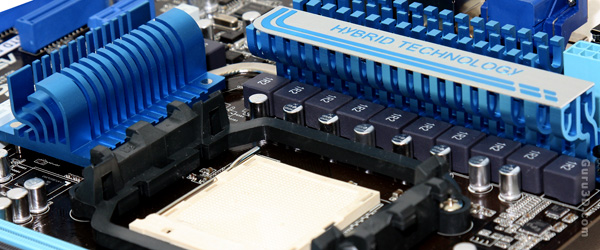
Last photo, check out the solid core chokes there carefully hidden. In total there are thirteen on the PCB, indicating thirteen power phases. However ASUS markets the board as 8+2 phase power. We suspect the other chokes (not on this photo) located lower and to the left of this photo are there for memory and HT controller.
