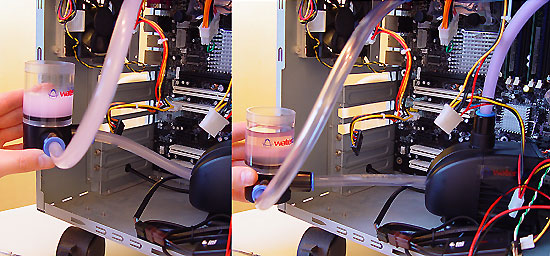
Is that pink ?
The red/pink colored stuff is anti-algae fluid that is supplied with the kit. After the anti-algae fluid fill the reservoir with distilled water, it will prevent growth from algae etc. If you don't have distilled water then bring regular water to the boil for a few minutes, cool it down and use that. That will limit the amount of calcium (damages the pump) in the water and will eliminate most bacteria, algae etc. If water is not flowing due to air bubbles lift the reservoir up a little.

As you can see the tubing is quite flexible. Don't worry too much, it's not like a tube will break loose or anything. They are real secured once connected to the push-on fittings.

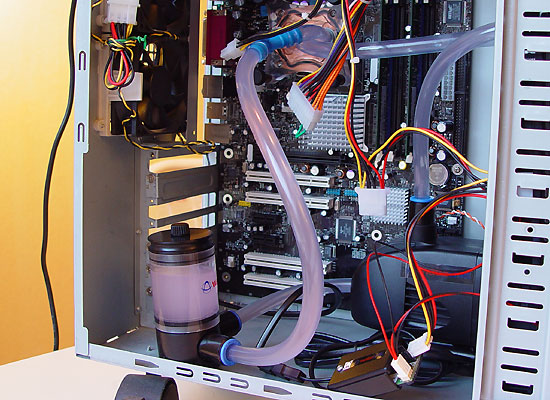
Once we have enough water in our circuit, leave the pump running this way for 15 minutes to make sure there is no remaining air in the water circuit and then double check everything for leakage. A small hint for Asetek, including a tiny flow meter in this top of the line kit would not be a bad idea.
With a pump of this kind though you can see the actual flow a little. Well a little, that flow is massive.

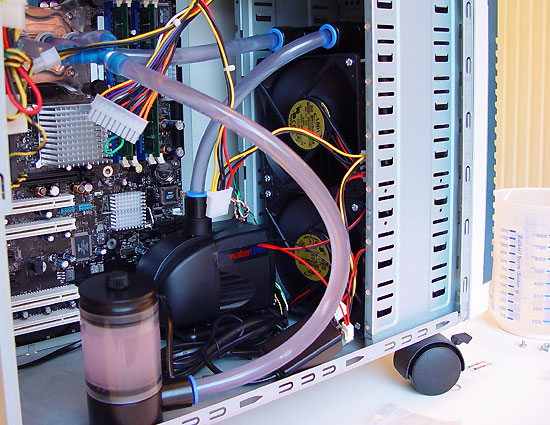
Once your are confident that nothing is leaking, yet working properly, it's time to reconnect the ATX cables to your mainboard and other gear and fire the beast up. Again make sure the water is flowing though the tubing and check that there is no air on the hose so that we know we have constant flow.
Congratulations, you know have a watercooled system, you can finally call your rig a beast! Although it's not yet a pretty sight, we are getting close to the end-results. This entire procedure will take you roughly an hour's time if you are slightly experienced with building PC's. If you are not, just take your time and use this article as guideline. Afterwards take your time cleaning up the wiring with, for example, tie-wraps.
