Product Showcase - Ryzen processor & Installation
Product Showcase
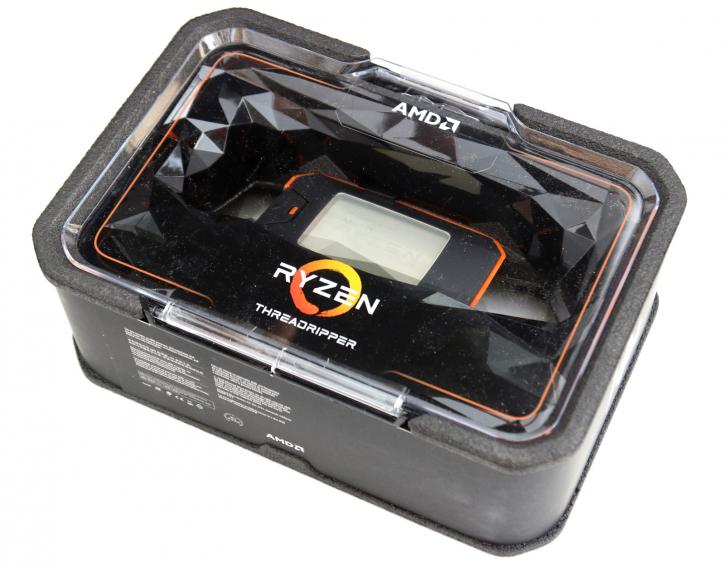
Right, it is time to have a closer look at what is inside that packaging. Let's have a peek. Yeah, not your average processor in a box, eh?
Last year the packaging needed to be "ripped" open. Confusing for some, this round it's a very nicely designed box which latches open pretty much like a Tupperware box.
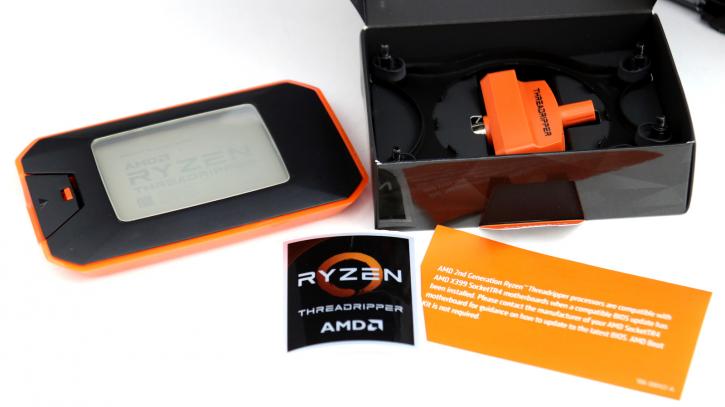
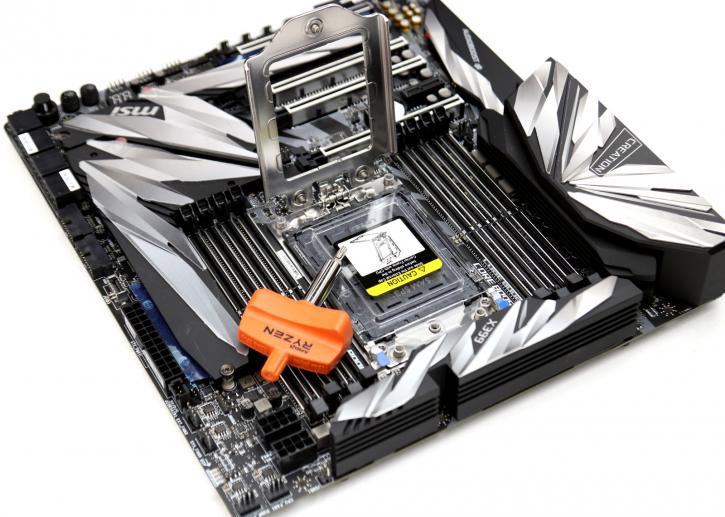
Once you've opened up the package and worked your way towards the processor you'll spot a number of things. The proc, an Asetek mounting bracket compatible with most Asetek LCS kits, manual and a Torx wrench so that you can mount the socket screws securely with precisely the right amount of pressure. Nothing here is like Intel is going about it with their drop-in design, the chances that installing your Threadripper is a risky thing are very slim.
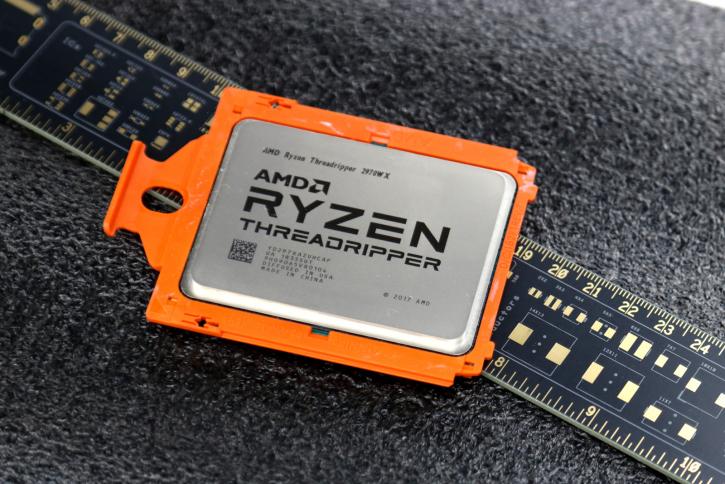
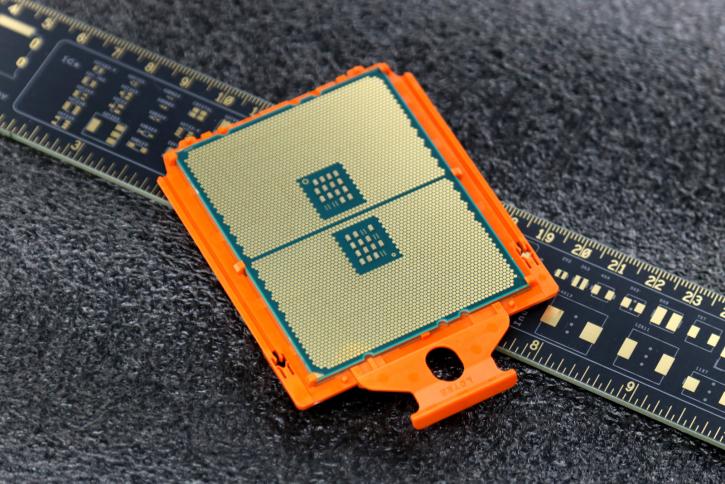
So, here you have the new TR 2970X, this is a 250W based 24-core / 48-thread Threadripper beast. That orange retention clip stays on there as it slips into the processor socket mounting system.
Underneath that heat spreader there are two binned dies housed, AMD selects the top 5% of dies and uses them for Threadripper Gen2. Obviously, AMD is using the 32-core / 4 die EPYC package and adds as many dies as they need. Once again, the heat spreader has been soldered, so unlidding isn't recommended.
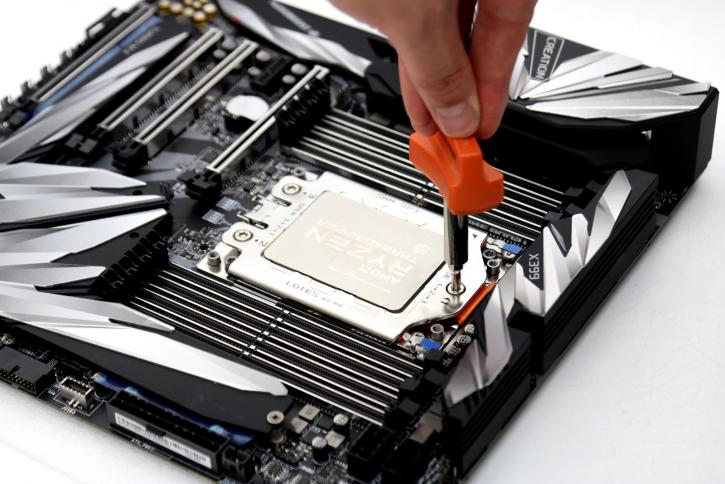
Included with the AMD kit (and retail kits) is a Torx tool/wrench. It is very easy to use and prevents you from over-applying force while securing the Threadripper processor.
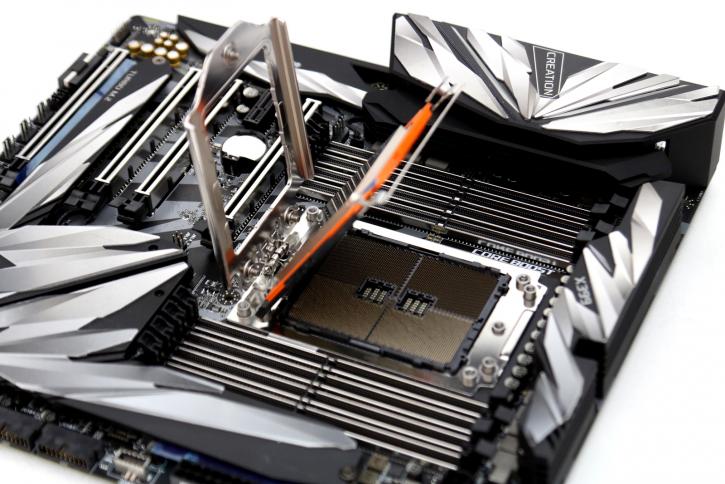
Basically, open up the slot and remove a plastic placeholder, then slide in the CPU, then push down the cover and it'll stick in the position you need it to be.
On that socket, you'll notice 1-2 and 3 at the screws. You start at 1, tighten it a bit. Then 2 and 3. Then secure it in that 1-2-3 setup. The Torx wrench will apply just the right amount of pressure. Once seated you obviously want to apply some cooling. Since we'll start off with the 32-core version, we're going for liquid cooling.
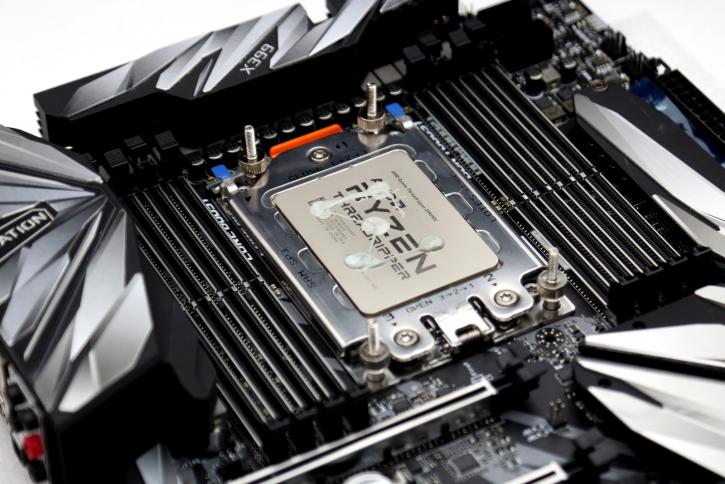
Apply some thermal grease, I opt for a bit in the middle and a drop at roughly the die locations. That methodology never failed me. Don't be shy with the thermal paste, it's a big surface area to cover.
