Photos setup & installation

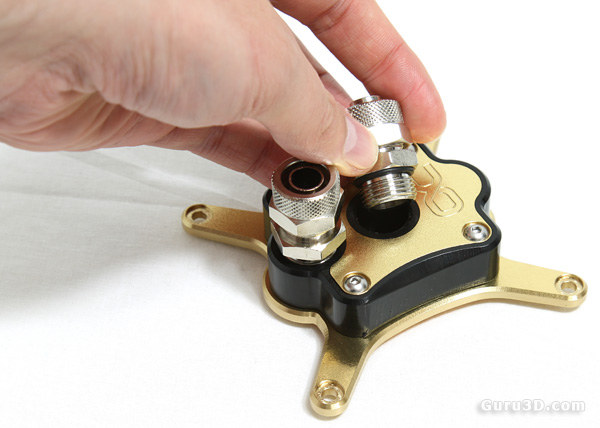
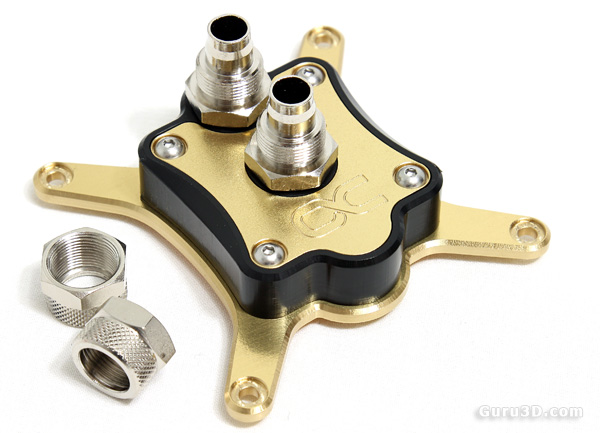
So when you order this unit, do not forget to order these two connectors/fittings as well. These are the big ones, 3/8" fittings.

You simply screw them secure, slide tubing over there and then screw the nut tight. This will clamp down the tubing to something completely leak free. We'll show you that during installation though.

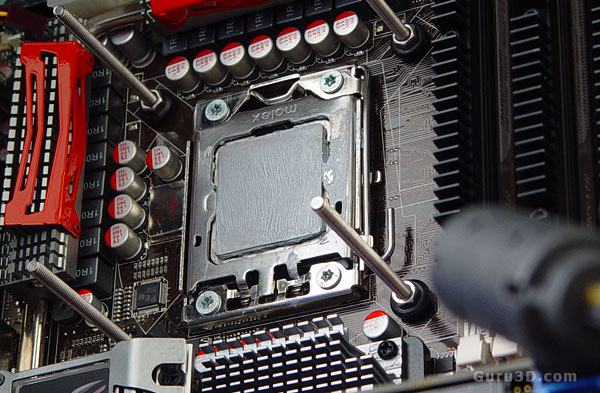
Mounting the screws aka retention system. You simply push the four screws each with a washer into/through the backside of the mounting holes. At the frontside you secure it with a plastic threaded washer. It's now a question of inserting the CPU, guide the springs through the CPU block. Slide the brass pipes over them and screw them down.
BTW before doing so, apply a little thermal paste, smeared out evenly like shown above. To distribute thermal paste evenly I simply use a thin plastic bag or something over my finger, and smear it out.

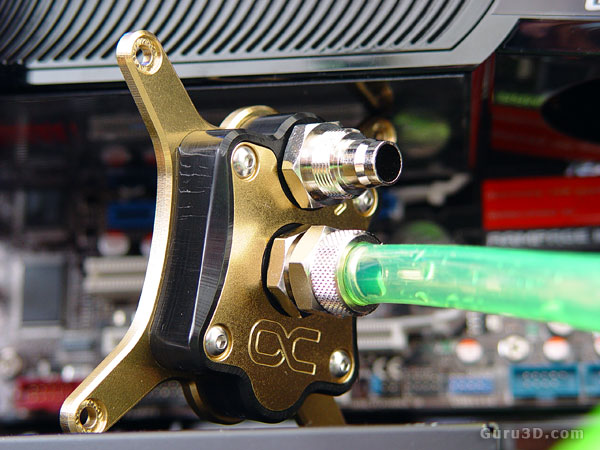
Here we see the tubing being installed. I ended up with green UV reflective 3/8" tubing. It should be quite a feast for the eyes once we pop some UV lights into the system as well. I'm going gamma radiation green my man :)
