Photos setup & installation
Photos setup & installation
On the next few pages we'll show you some photos. The images were taken at high-resolution and then cropped and scaled down. The camera used was a Canon 450D 12 MegaPixel.

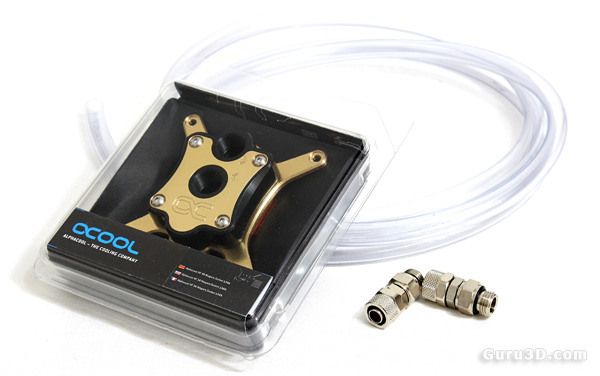
Right then, here's the gear we'll be talking about today. In our case we'll be 'adding' the new liquid cooling CPU block to an existing liquid cooled setup...
So for 59 EUR you'll receive the water-block and mounting system, for Socket LGA 1366. Mind you, you'll still need to order two fittings/connectors/barbs each at 3/8" wire taps. Alphacool offers them at 2 EUR a piece.
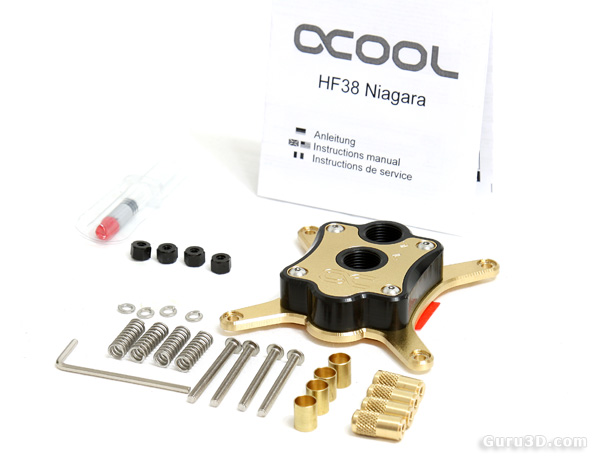
The package includes the water-block, screws, studs, brass covers, springs and a little thermal paste.

Here we have the CPU-block kit on display. The spring mounting system will require you to remove your motherboard, as the screws need to be inserted through the back of the mainboard for optimal mounting.
Alphacool uses a new mounting system with hidden springs behind brass pipes. Basically you insert the screw through the backside of the motherboard, apply black washers at the frontside, seat the CPU block at the frontside, put the springs in place, slide the brass pipes over there and then screw it down with the brass thumbscrews. Really easy... and looks really nice.

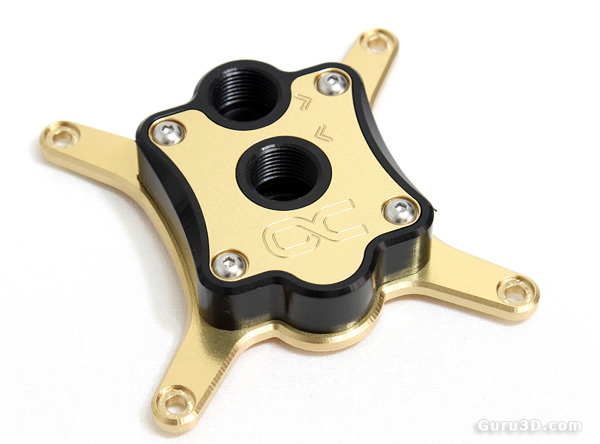
First glimpse of the water-block... that's looking mighty fine in my eyes, a very sturdy CPU block. That thing can squeeze up to 5,3 liters/min though there. The brass parts are permanently protected with clear lacquer against starting and casting. Let's see if it has a flat copper bottom finish.

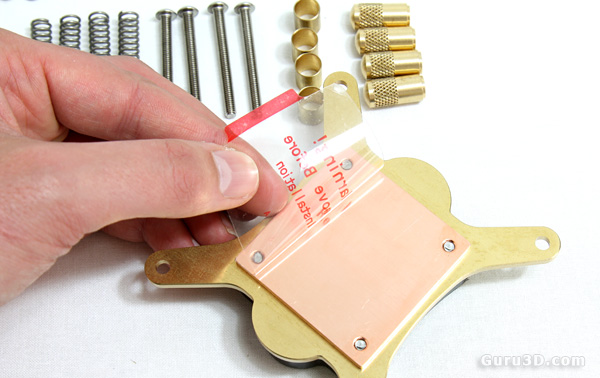
So we spot a near perfect mirror finish on the copper block... 100% flat, that is just a remarkably flat finish right there. You can even see a little reflection of that sticker on there.
