Testing testing 123
Tests
What did legitimately surprise me was my attempt at using XMP on the more aggressively tuned Apollo kit. In short, it worked straight away. Whilst I was aware that AMD endorsed running 3,600Mhz memory for Zen 2 CPUs, they also steered consumers towards kits with lower CAS latencies of CL16. Imagine my shock, then, when the Apollo kit booted immediately with nary a fuss. I shouldn’t have been surprised, though. Thaiphoon Burner confirmed that the kit was utilising the highly sought-after Samsung ‘B-Die’ modules, indicating a high-quality bin and some receptiveness to further overclocking.
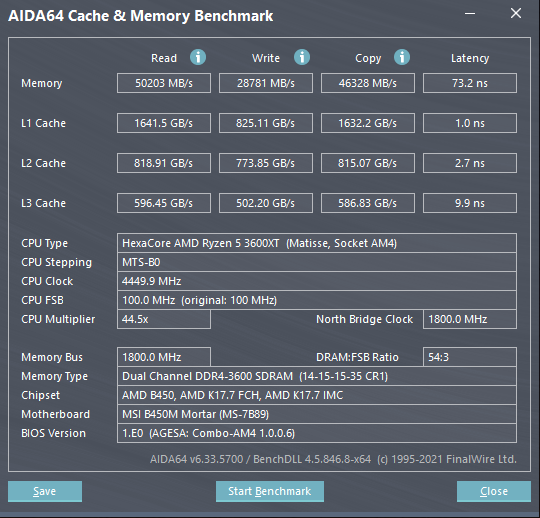
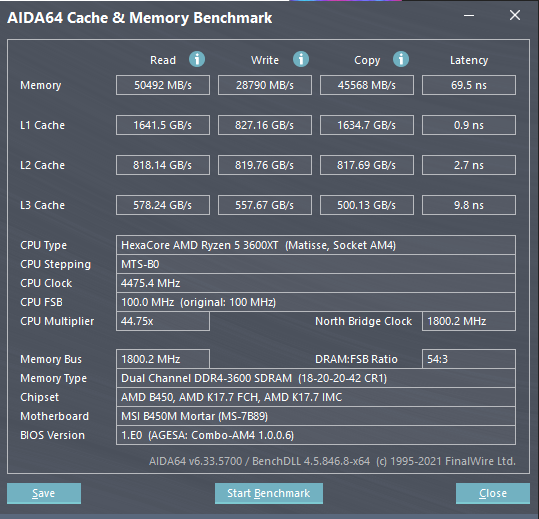
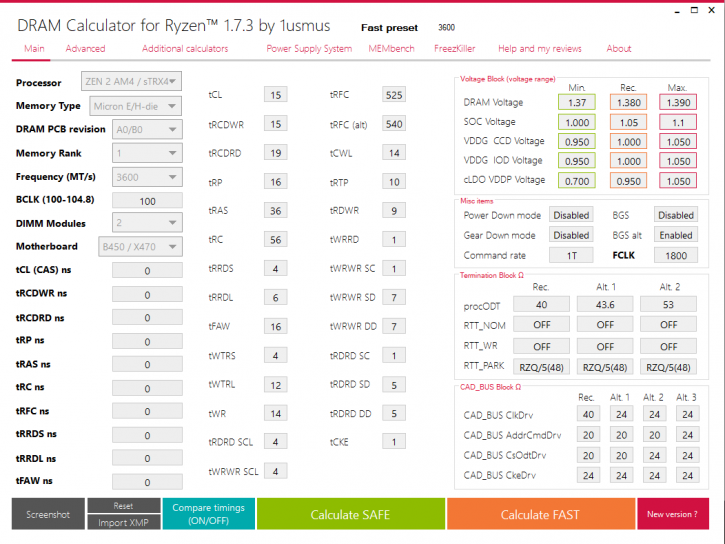
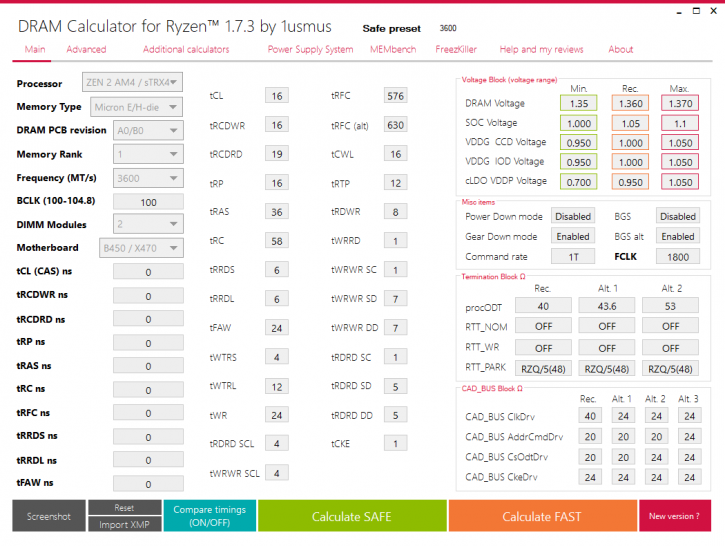
Both kits, with XMP enabled, ran flawlessly throughout my testing. There isn’t much more to say, here, as XMP is XMP. Either it works, or it doesn’t. So, we’ll move onto some manual tweaking. When manually overclocking the memory, we used the Ryzen DRAM Calculator for some guidance and the cache & memory benchmark within Aida 64. The screencaps you see below were taken either with XMP enabled (in the case of the Apollo kit) or when further manual tuning was done (in the case of the Talos kit).
Above Apollo
Above Talos
As soon as one goes higher than the 3733Mhz memory clock on Zen 2 (or 3), the processor’s Infinity Fabric link starts working at half the memory clock frequency. Of course, you can fight to bypass this and achieve 3733 or even 3800 MHz with a 1:1 divider, but this can (and likely will) involve a reasonable struggle and lots of stability testing.
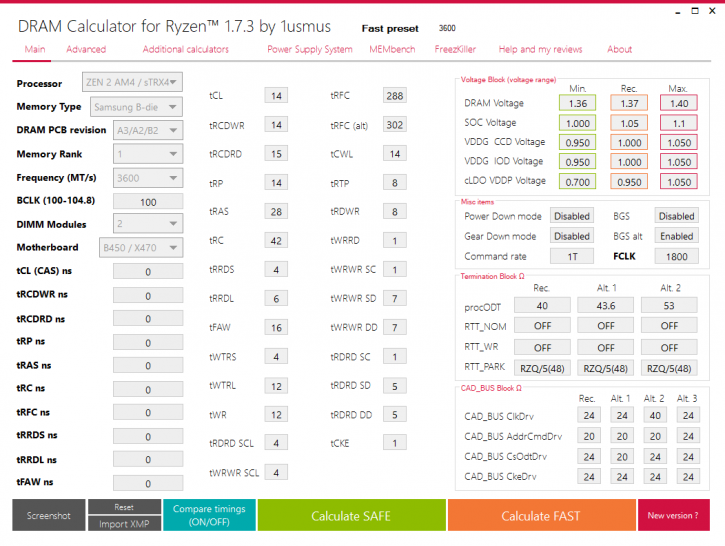
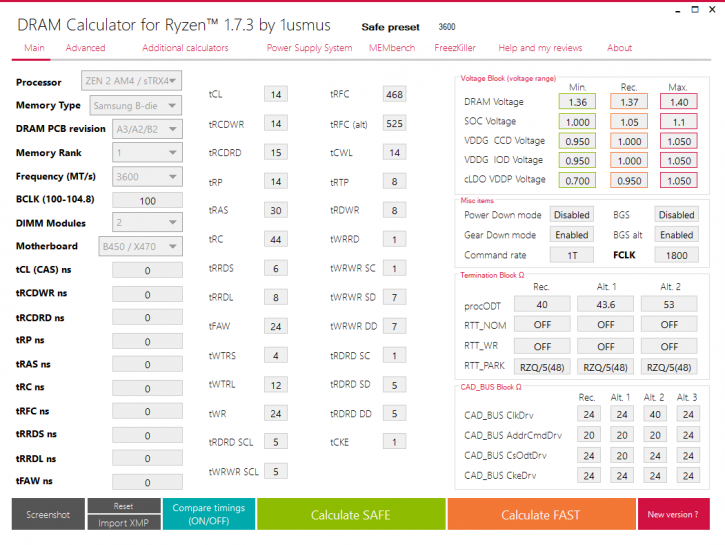
Overclocking the Talos kit was simple. Data was input into the DRAM calculator and the timings gained from that exercise were input into the BIOS. Whilst the speed was kept at 3,600Mhz, various adjustments were made to the main and sub-timings (taking the kit down to 15-15-16-36, a quite significant reduction). As you will see later on, this resulted in performance gains ranging from ‘nil’ to ‘really quite significant.’ So much so that I did re-run the tests where larger gains were made multiple times to ensure their validity.
Overclocking the Apollo beyond what it was already doing, however, was a non-starter. I should have seen this coming when selecting the ‘A0’ DRAM PCB Revision option on the Ryzen DRAM Calculator. For those not in the know, the PCB option is essentially choosing your kit’s individual PCB layout, with A2 through to A4 reserved for the best memory kits out there. Using A0 resulted in the calculator spitting out worse timings than what the XMP profile was giving me in the first place! Using A2-A4 (once I had physically verified the layout) resulted in timings/voltages that – even when using only the ‘Safe’ calculation, all I got was a continual system boot loop. I was, therefore, not able to extract any additional performance out of the Apollo kit when manually tweaking it.
Apollo Fast
Apollo safe
Talos Fast
Talos Safe
On the next page, you will see some charts breaking down the application performance of both kits running with their default XMP profile enabled and the results of our manual overclocking.

